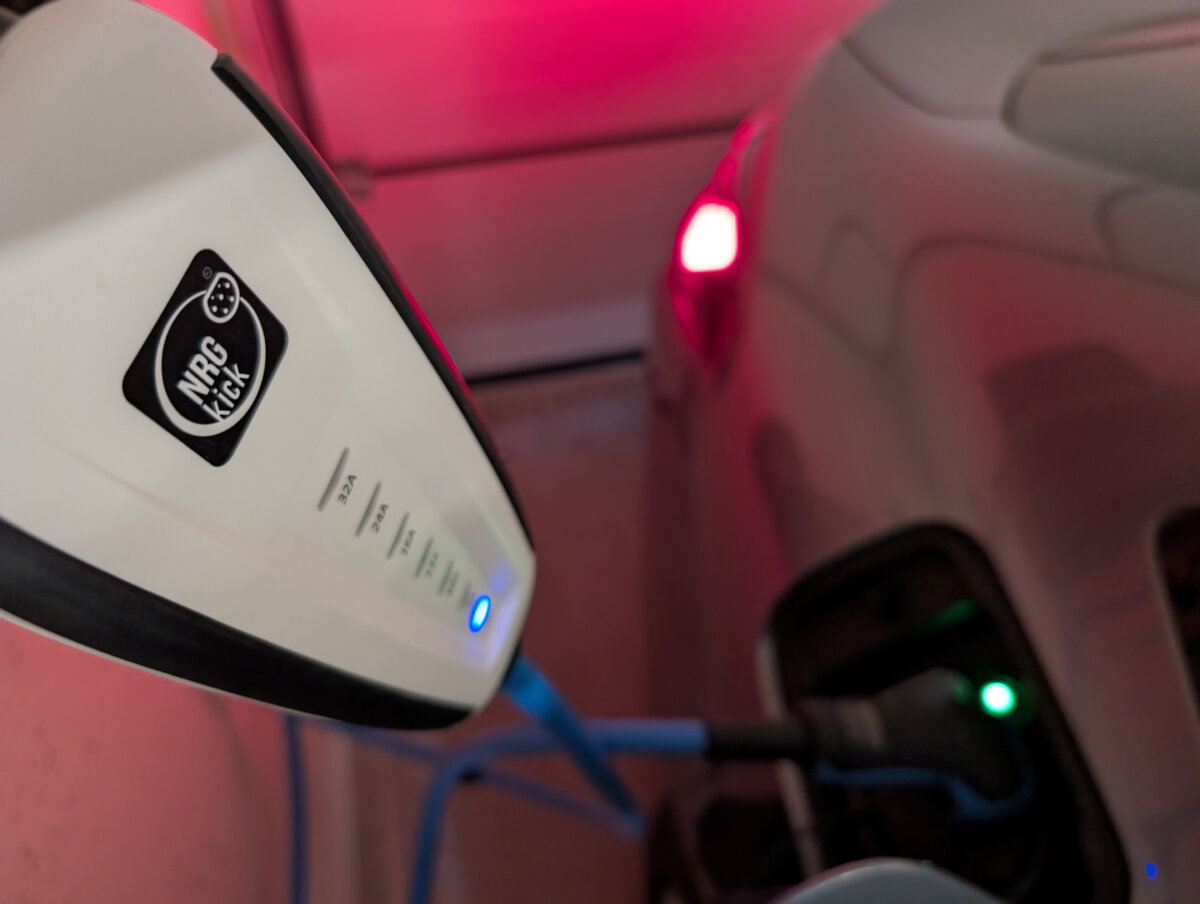
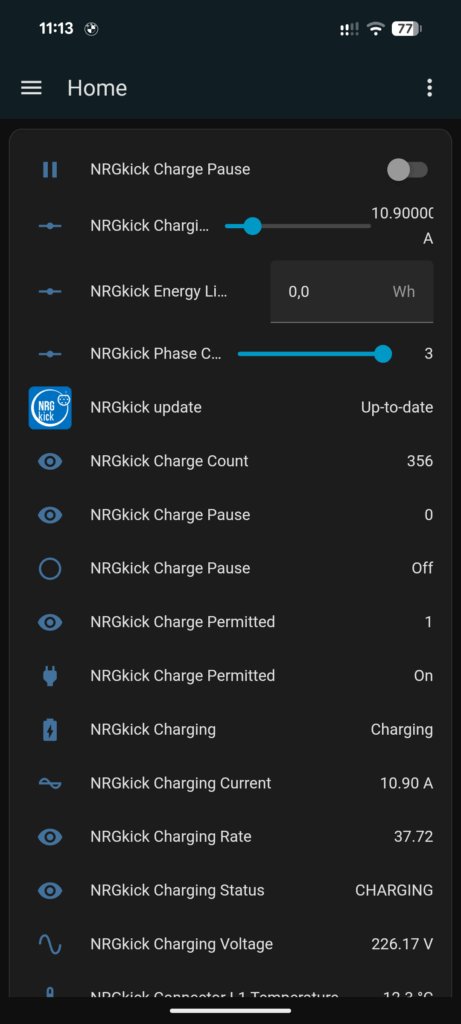
Having an NRGkick mobile wallbox from the Austrian company DiniTech, I decided to integrate it into a new project. The wallbox has a local API (so controlling it does not need the internet) and exposes over 80 sensors / data points. This includes basics like charging current and total energy, and even the individual temperatures of the charging phase connectors. This is a perfect playground for smart home integration.
My main goal was not just to visualize this data in Home Assistant. I wanted to control the rest of the home based on the wallbox’s charging status. This is useful for a home with a photovoltaic (PV) system that is not big enough to support full car charging and other large appliances (like heating) at the same time. Controlling the wallbox itself (setting current, pausing) was also an important benefit, especially if you don’t have the PV-led charging add-on for the wallbox.
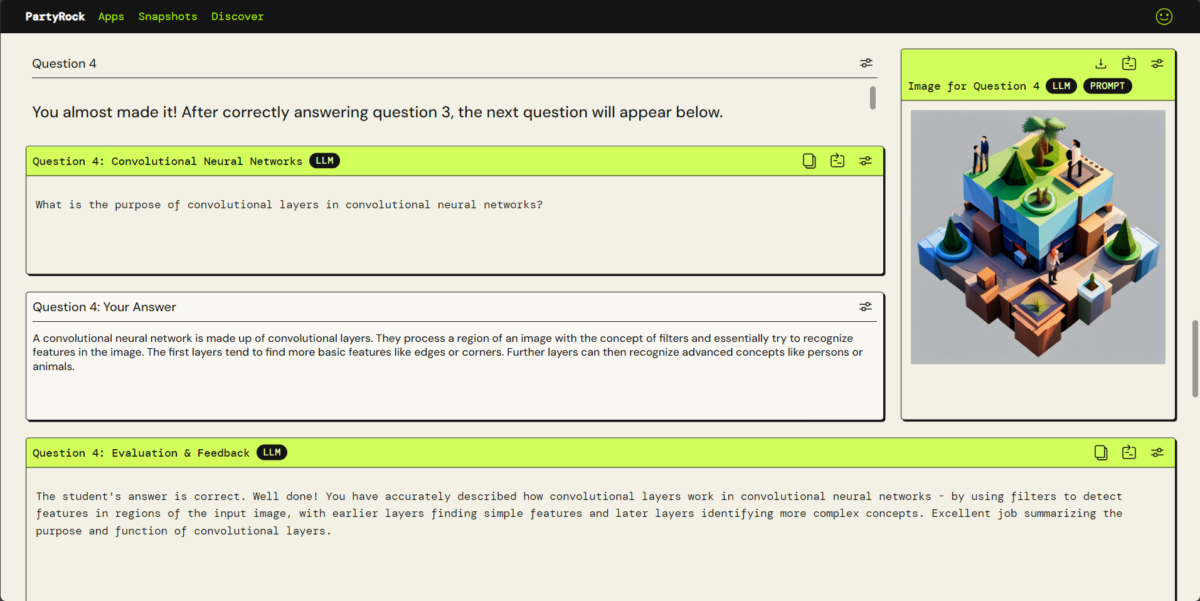
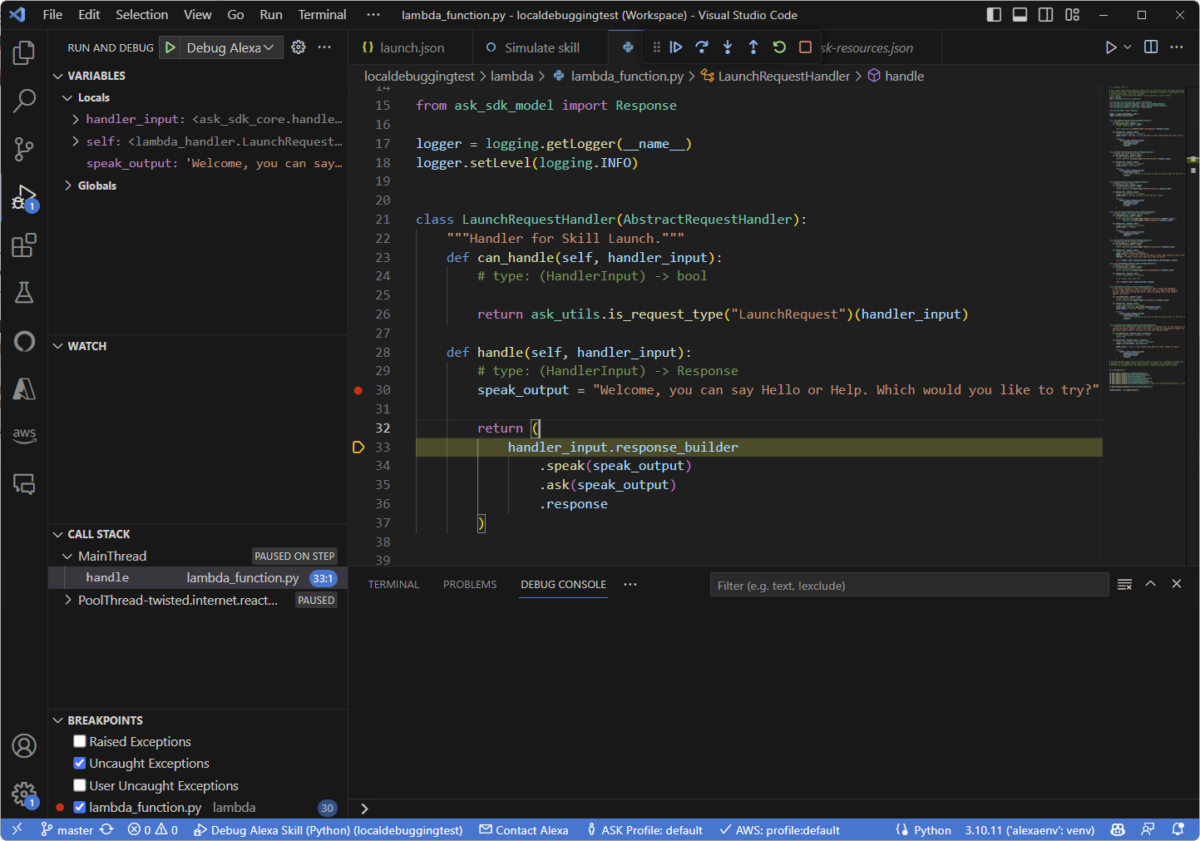
This project was also an experiment to test the current state of AI coding agents. I wanted to see if they could build a full, high-quality Home Assistant integration from scratch. I used GitHub Copilot inside Visual Studio Code and tested several different models.
You can download and try the full integration from GitHub, and it’s also available for direct installation into your Home Assistant setup through the Home Assistant Community Store (HACS) – search for “NRGkick”; the actual configuration then works through auto-discovery in your local network. Also visit the Home Assistant Community forum discussion if you have feedback or comments!


You must be logged in to post a comment.