Categories
Android App Development AR / VR Digital Healthcare

Custom 3D Models & AR Anchors in Amazon Sumerian (Part 3)

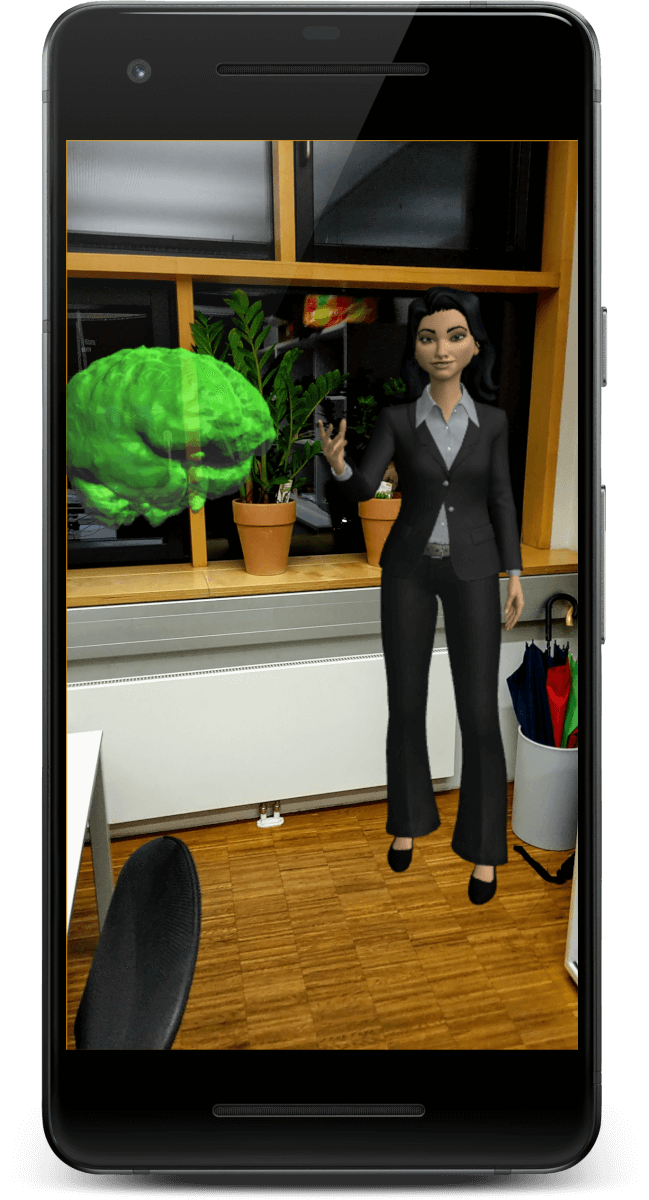
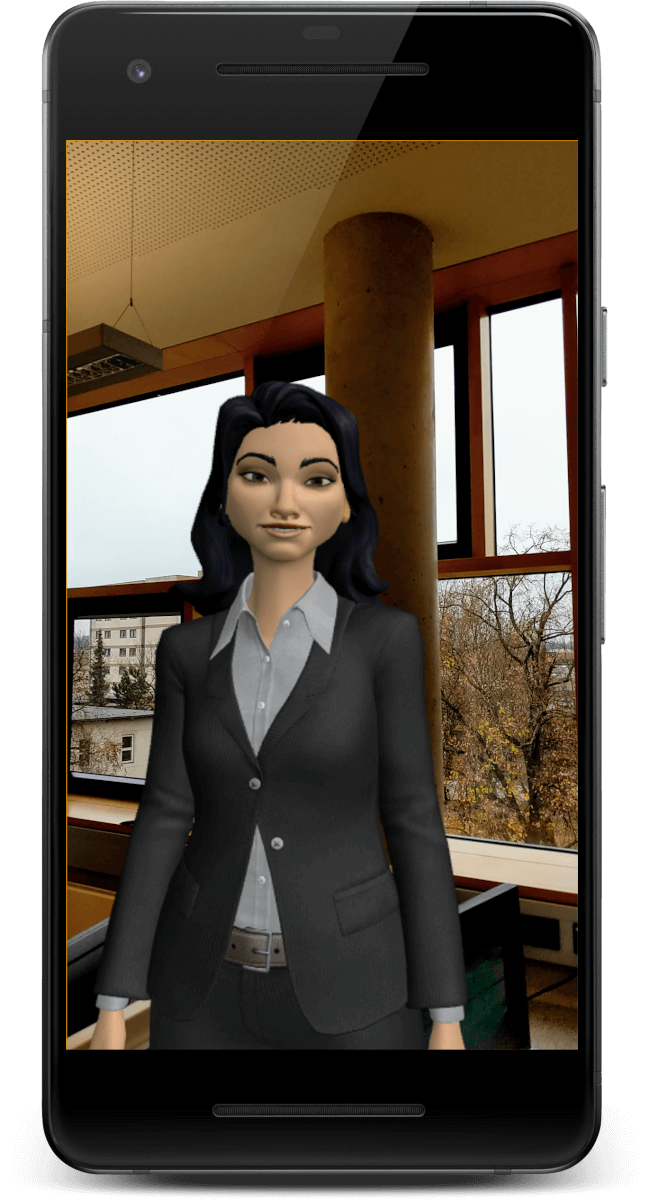
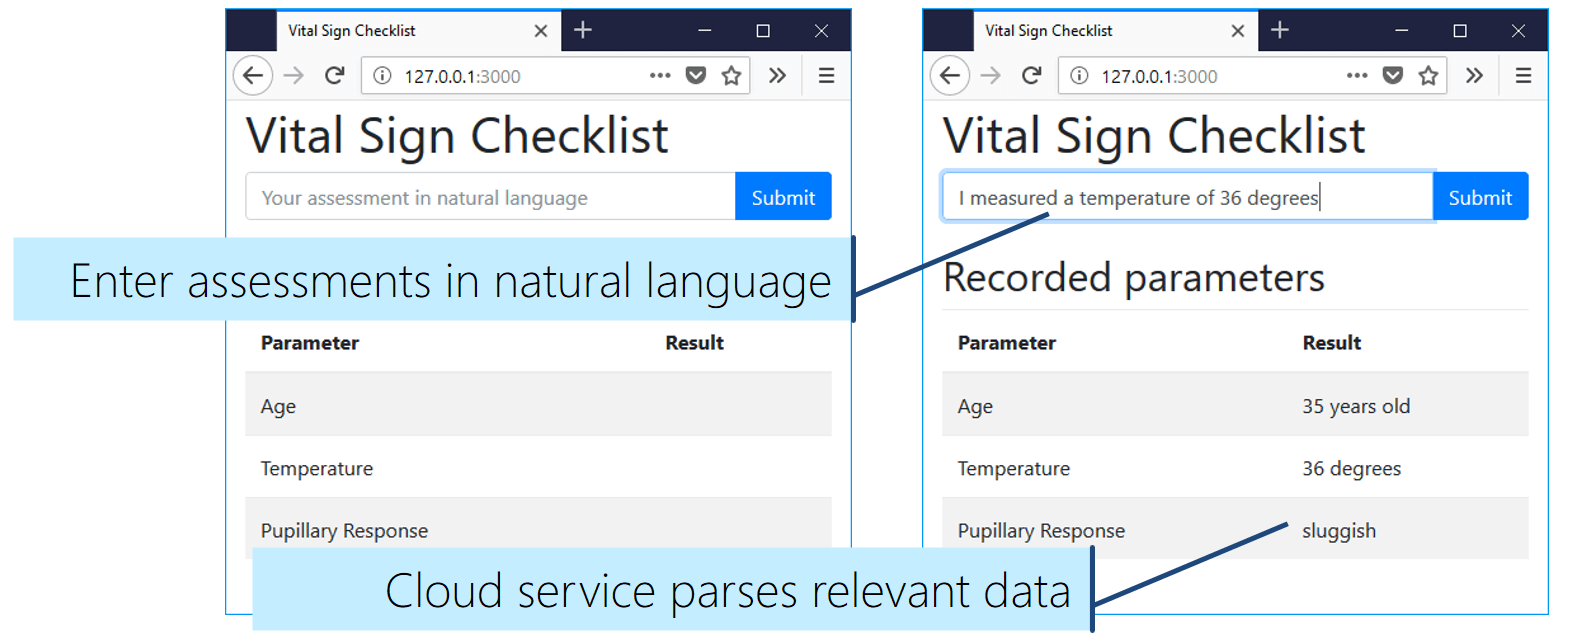
Integrate the real world into your Amazon Sumerian AR app. Plus: place virtual content into the user’s environment. Learn how to anchor multiple 3D models that have a fixed spatial relationship.

This article builds on the foundations of the AR project setup in part 1, as well as extending the host with speech & gestures in part 2.

Import Custom 3D Models

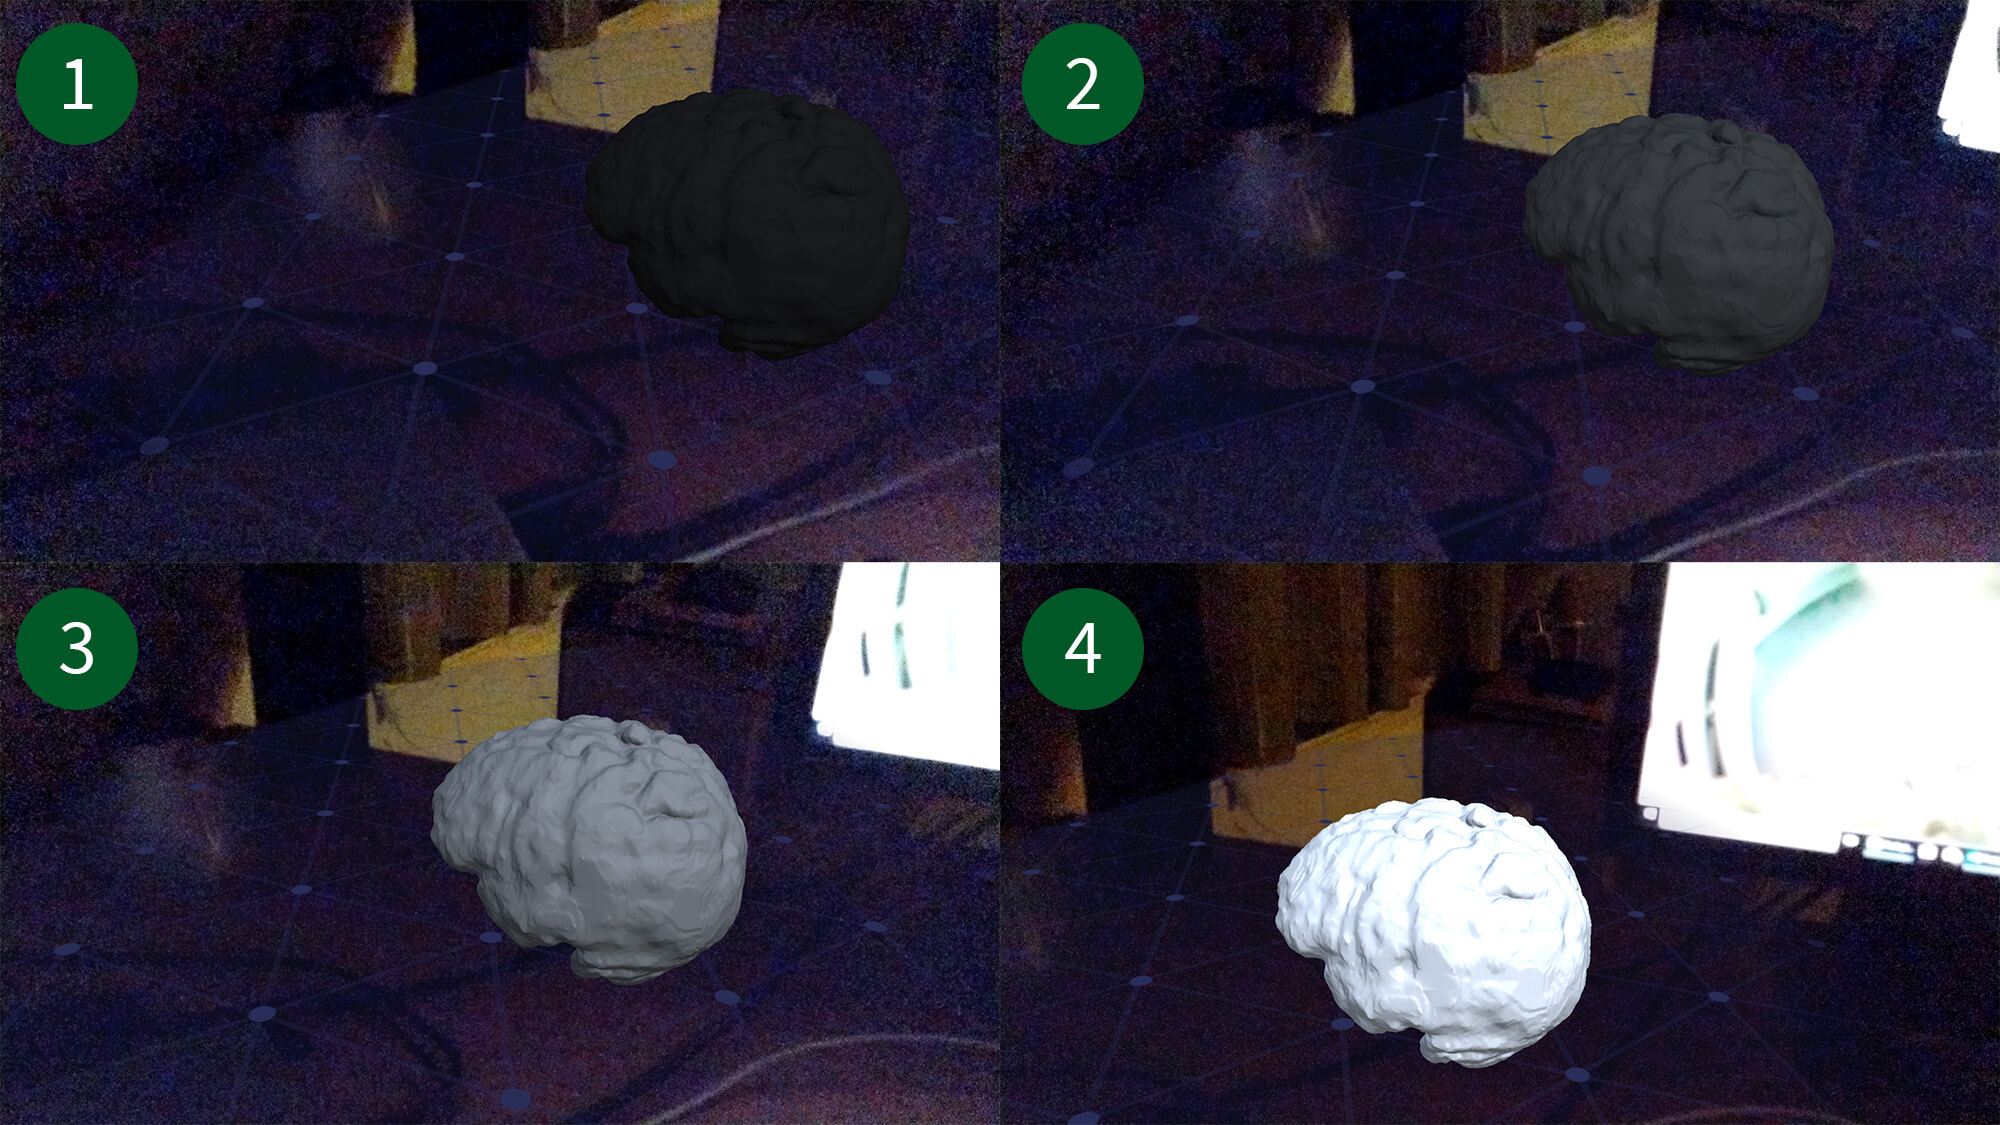
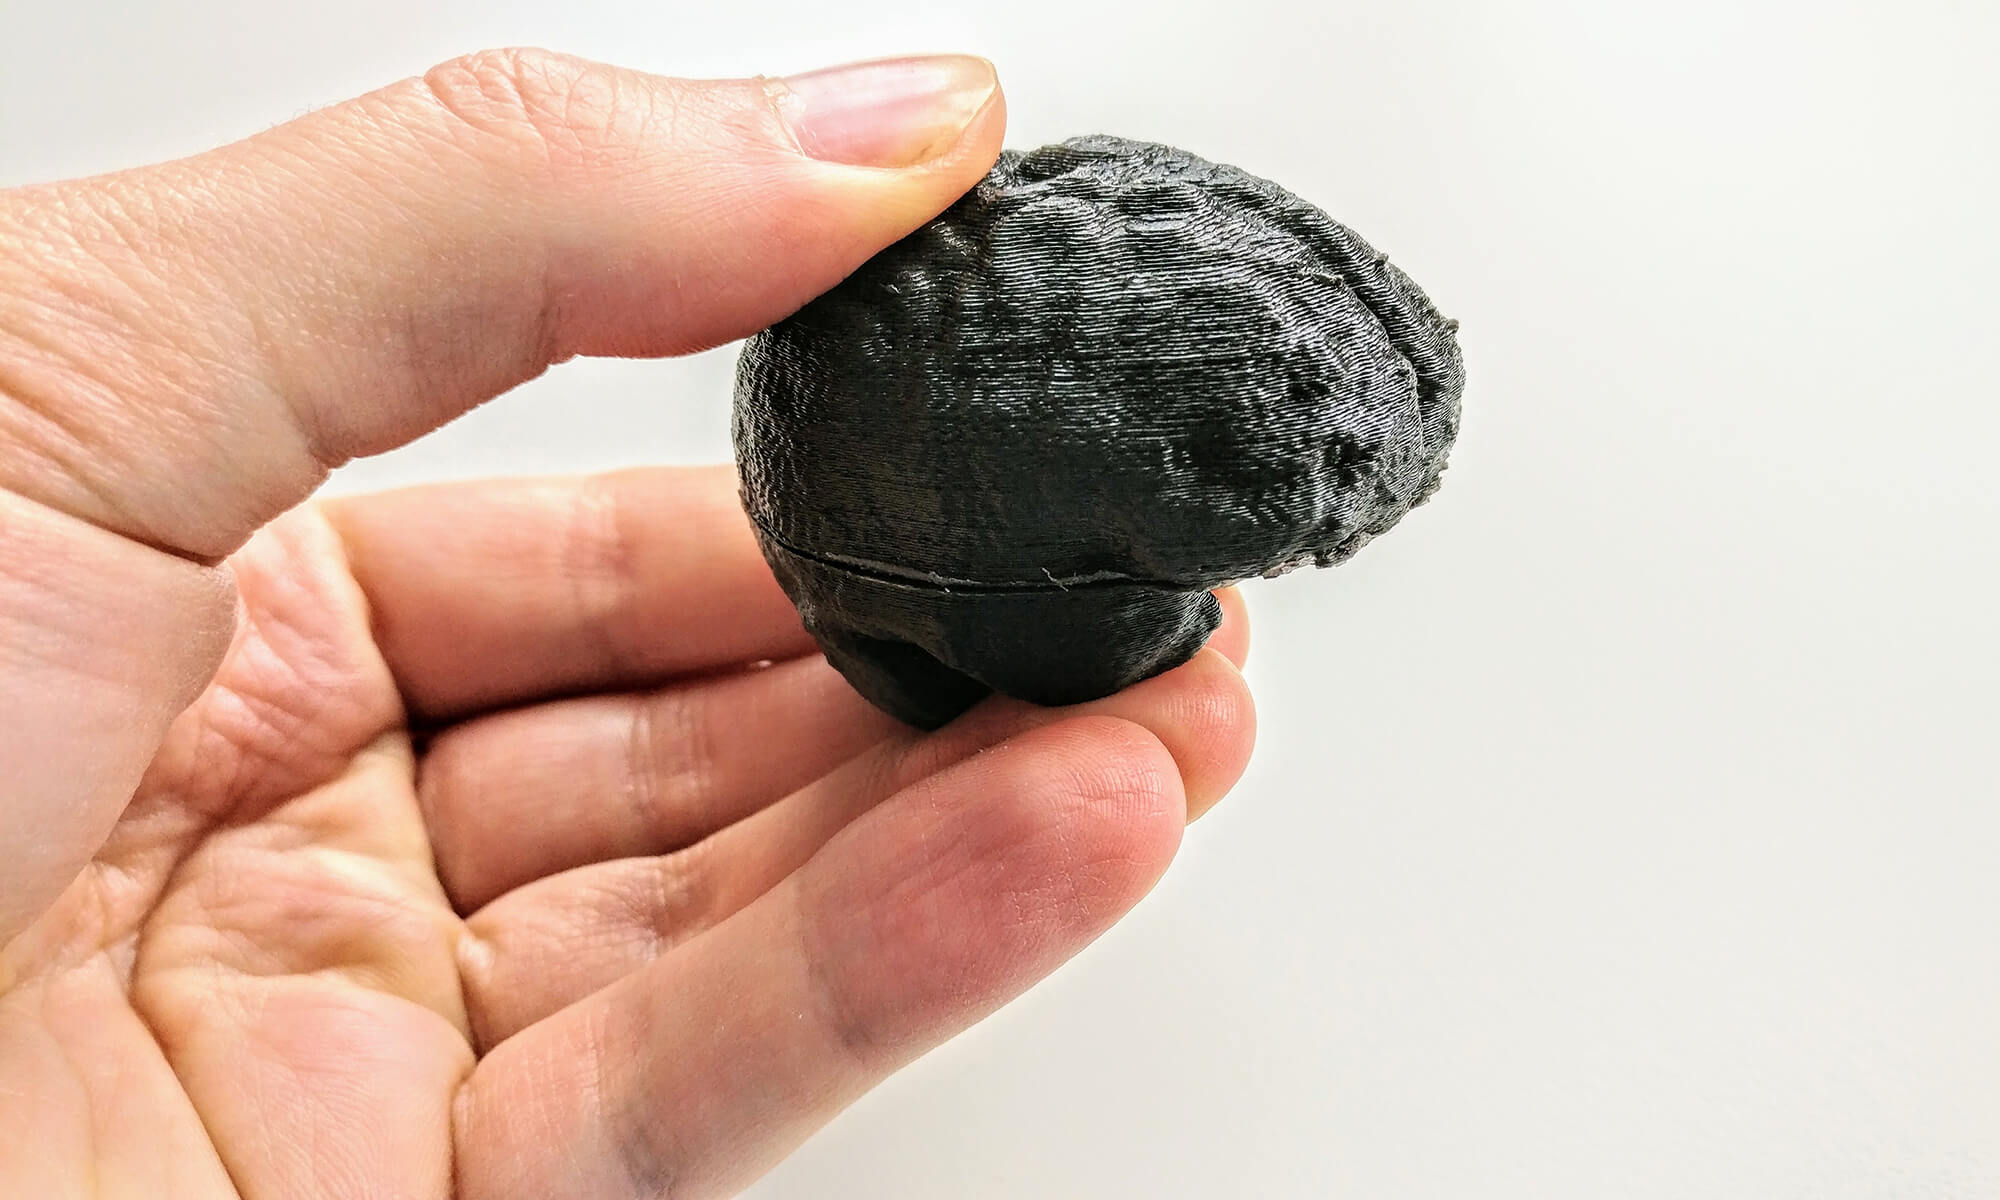
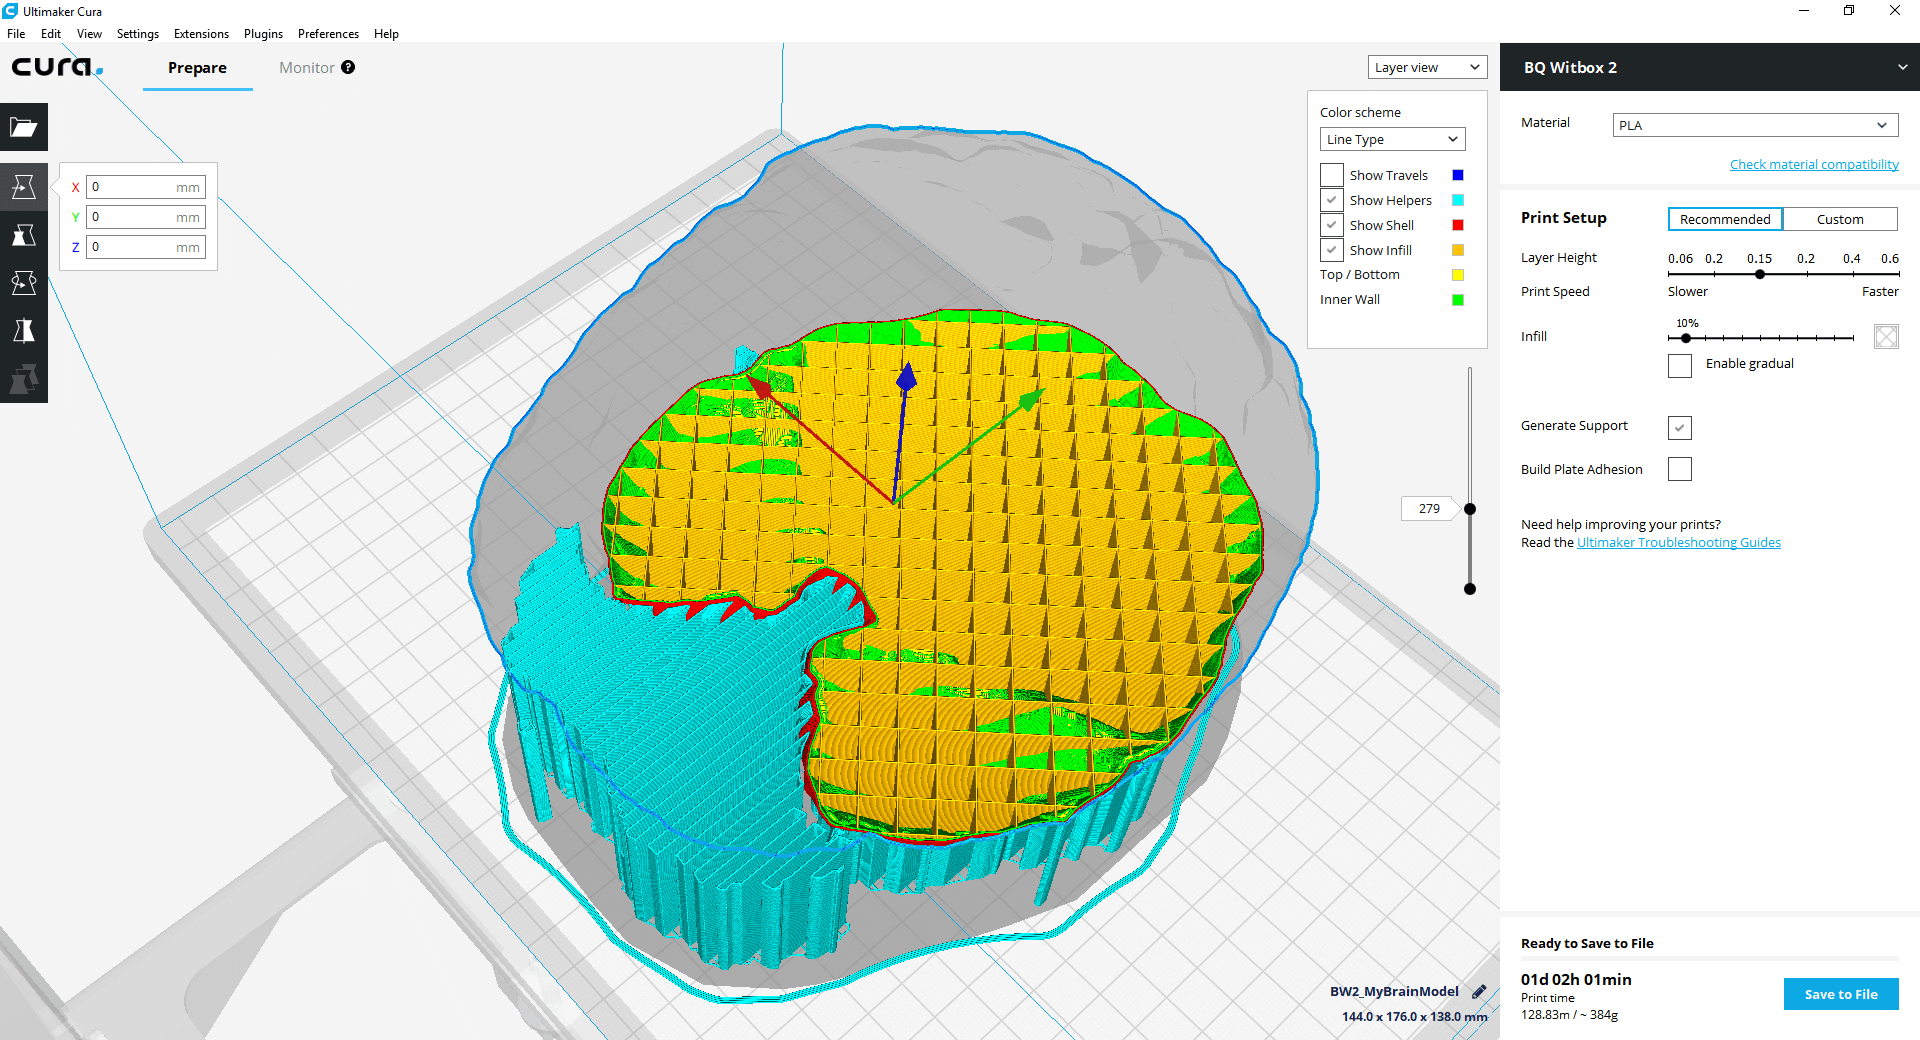
While Sumerian comes with a few ready-made assets, you will often need to add custom 3D models to your scene as well. Currently, Sumerian supports importing two common file types: .fbx (also used by Unity and Autodesk software) and .obj (very wide-spread and common format).

Simply drag & drop such a model from your computer to your assets panel. Alternatively, you can also use the “Import Assets” button in the top bar and then use “Browse” to choose the file to upload.

Where to get these 3D models? Either you create them yourself using Blender, Maya or any other tool. Alternatively, go to great free portals like Google Poly and Microsoft Remix 3D. These objects are usually low-poly and therefore well-suited for mobile phones.

Categories
Android App Development AR / VR Digital Healthcare

Speech & Gestures with Amazon Sumerian (Part 2)

In the first part of the article series, we set up an Augmented Reality app with a host (= avatar). Now, we’ll dive deeper and integrate host interactions. To make the character more life-like, it should look at you. We’ll assign speech files and ensure that the gestures of the character match the spoken content.

But before we set out on these tasks, let’s take a minute to look at some vital concepts of Amazon Sumerian.

Behaviors, State Machines & Events

Unless you want your app to just show a static scene, you’ll need to integrate actions. The trigger for an action could react to interactive user inputs. Alternatively, you define what happens sequentially – e.g., first a new object appears in the scene, then the host avatar explains it.

Technically, this is solved using a state machine. Each entity can have multiple different states. A behavior is a collection of these states. States transition from one to another based on actions & their events (= interactions or timing).

Sumerian State Machines - Behaviors contain states, which have actions that can trigger events, which lead to transitions to other states.
Sumerian State Machines – Behaviors contain states, which have actions that can trigger events, which lead to transitions to other states.

Each state has a name: e.g., “Waiting”, “Moving”, “Talking”. In addition, each state typically has one or more actions: e.g., waiting for five seconds, animating the movement of the entity or playing a sound file. Sumerian comes with pre-defined actions. Additionally, you can provide your own JavaScript code for custom or more complex tasks.

These actions can trigger events. Some examples: the wait time of 5 seconds is over, the movement is completed or the sound file finished playing. Using a transition, you can then transition to a different state.

By combining several states together with transitions, you can make entities interact with the user or perform other tasks to ensure your scene is dynamic.

Categories
Android App Development AR / VR Digital Healthcare

Amazon Sumerian & Augmented Reality (Part 1)

Many AR / VR use cases involve virtual trainings or guide topics. With Amazon Sumerian, you can quickly create cross-platform apps for these scenarios. The main advantage is the large amount of ready-made content: avatars (called hosts) and virtual environment templates. Through the direct integration of Amazon Web Services (AWS), it’s easy to make the host speak to the user – including lip sync, gestures and even conversations through bots.

Of course, you can create similar solutions with Unity. But Sumerian requires far less prior 3D software knowledge and is therefore ideal for smaller projects as well as prototypes. The interface and generic setup is still quite similar to Unity; so it’s a good evolution to switch to Unity – if needed – after you’ve created your first few apps and services with Amazon Sumerian.

Additionally, right now Amazon is hosting an AR / VR challenge with lots of prizes for the best apps of various categories. So, it’s a great time to explore Sumerian!

What is Amazon Sumerian?

Essentially, Sumerian is a browser-based 3D editing platform. It allows developing for most AR and VR platforms, including Oculus, Vive, Windows Mixed Reality, as well as the browser, Google ARCore and Apple ARKit.

Behind the scenes, it’s based on WebXR. That’s the evolution of WebVR, which was mainly targeting VR headsets. With WebXR, you can access sound, controllers and also anchor objects to the real environment in Mixed Reality scenarios.

Amazon Sumerian Account Setup

First, you need to set up your Amazon account. Amazon offers an AWS free tier, which gives you access to many services and provides some usage quotas for free for the first 12 months. Afterwards, you can still continue using selected services for free. Note that Sumerian is not part of these, but 12 months provides enough time to test & develop your service.

Categories
App Development Artificial Intelligence Digital Healthcare

Using Natural Language Understanding, Part 4: Real-World AI Service & Socket.IO

Updated: January 18th, 2023 – changed info from Microsoft LUIS to Microsoft Azure Cognitive Services / Conversational Language Understanding. 

In this last part, we bring the vital sign checklist to life. Artificial Intelligence interprets assessments spoken in natural language. It extracts the relevant information and manages an up-to-date, browser-based checklist. Real-time communication is handled through Web Sockets with Socket.IO.

The example scenario focuses on a vital signs checklist in a hospital. The same concept applies to countless other use cases.

In this article, we’ll query the Microsoft Azure Conversational Language Understanding Service from a Node.js backend. The results are communicated to the client through Socket.IO.

Connecting Language Understanding to Node.js

In the previous article, we verified that our language understanding service works fine. Now, it’s time to connect all components. The aim is to query our model endpoint from our Node.js backend.

Categories
App Development Artificial Intelligence Digital Healthcare

Using Natural Language Understanding, Part 3: Conversational Language Understanding Service

Updated: December 12th, 2022 – changed info from Microsoft LUIS to Microsoft Azure Cognitive Services / Conversational Language Understanding. 

Training Artificial Intelligence to perform real-life tasks has been painful. The latest AI services now offer more accessible user interfaces. These require little knowledge about machine learning. The Microsoft Azure Conversational Language Understanding Service performs an amazing task: interpreting natural language sentences and extracting relevant parts. You only need to provide 5+ sample sentences per scenario.

In this article series, we’re creating a sample app that interprets assessments from vital signs checks in hospitals. It filters out relevant information like the measured temperature or pupillary response. Yet, it’s easy to extend the scenario to any other area.

Language Understanding

After creating the backend service and the client user interface in the first two parts, we now start setting up the actual language understanding service. I’m using the Conversational Language Understanding service from Microsoft, which is based on the Cognitive Services of Microsoft Azure.

Categories
App Development Artificial Intelligence Digital Healthcare

Using Natural Language Understanding, Part 2: Node.js Backend & User Interface

Updated: December 12th, 2022 – changed info from Microsoft LUIS to Microsoft Azure Cognitive Services / Conversational Language Understanding. 

The vision: automatic checklists, filled out by simply listening to users explaining what they observe. The architecture of the sample app is based on a lightweight architecture: HTML5, Node.js & the Microsoft Conversational Language Understanding Cognitive service in the cloud.

Such an app would be incredibly useful in a hospital, where nurses need to perform and log countless vital sign checks with patients every day.

In part 1 of the article, I’ve explained the overall architecture of the service. In this part, we get hands-on and start implementing the Node.js-based backend. It will ultimately handle all the central messaging. It communicates both with the client user interface running in a browser, as well as the Microsoft LUIS language understanding service in the Azure Cloud.

Creating the Node Backend

Node.js is a great fit for such a service. It’s easy to setup and uses JavaScript for development. Also, the code runs locally for development, allowing rapid testing. But it’s easy to deploy it to a dedicated server or the cloud later.

I’m using the latest version of Node.js LTS (currently version 18) and the free Visual Studio Code IDE for editing the script files.

Categories
App Development Artificial Intelligence Digital Healthcare

Using Natural Language Understanding, Part 1: Introduction & Architecture

Updated: December 12th, 2022 – changed info from Microsoft LUIS to Microsoft Azure Cognitive Services / Conversational Language Understanding. 

During the last few years, cognitive services have become immensely powerful. Especially interesting is natural language understanding. Using the latest tools, training the computer to understand spoken sentences and to extract information is reduced to a matter of minutes. We as humans no longer need to learn how to speak with a computer; it simply understands us.

I’ll show you how to use the Conversational Language Understanding Cognitive Service from Microsoft. The aim is to build an automated checklist for nurses working at hospitals. Every morning, they record the vital sign of every patient. At the same time, they document the measurements on paper checklists.

With the new app developed in this article, the process is much easier. While checking the vital signs, nurses usually talk to the patients about their assessments. The “Vital Signs Checklist” app filters out the relevant data (e.g., the temperature or the pupillary response) and marks it in a checklist. Nurses no longer have to pick up a pen to manually record the information.

The Result: Vital Signs Checklist

In this article, we’ll create a simple app that uses the conversational language understanding APIs of the Microsoft Azure Cognitive Services. The service extracts the relevant data from freely written or spoken assessments.

Categories
Android App Development AR / VR Digital Healthcare

Real-Time Light Estimation with Google ARCore

ARCore has an excellent feature – light estimation. The ARCore SDK estimates the global lighting, which you can use as input for your own shaders to make the virtual objects fit in better with the captured real world. In this article, I’m taking a closer look at how the light estimation works in the current ARCore preview SDK.

Note: this article is based on the ARCore developer preview 1. Some details changed in the developer preview 2 – although the generic process is still similar.

Categories
3D Printing AR / VR Digital Healthcare

3D Printing MRI / CT / Ultrasound Data, Part 2: Splitting the Brain

Are there any other ways to 3D print segmented medical data coming from MRI / CT / Ultrasound by splitting it in two halves?

In the first part of this article, the result was that the support structures required by a standard 3D printer significantly reduce the details present on the surface of the printed body part.

Christoph Braun had the idea for another method to reduce the support structures to a minimum: by splitting the object in two halves, each has a flat surface area that can be used as the base for the 3D print.

Importing and Scaling the STL Model

For processing the 3D object, we’ll use OpenSCAD – The Programmers Solid 3D CAD Modeler. It’s a free open source tool, aimed more at developers, with the advantage that the processes can easily be automated.

Categories
3D Printing AR / VR Digital Healthcare

3D Printing MRI / CT / Ultrasound Data, Part 1: Support Material

Based on the 4-part tutorial where we segmented the brain from an MRI image, one of the most interesting application areas is printing such 3D models. In that sense, it makes no difference if the data is coming from an MRI (e.g., a brain or tumor), CT (e.g., the skull) or ultrasound. In this article, we’ll look at how to prepare the 3D model for 3D printing.

In the preparation phase, we segmented the model from the original DICOM medical data using 3D Slicer. Afterwards, we reduced the level of detail using the built-in tools in Windows 10.

In this part, we print the MRI brain model using the Witbox 2 3D printer with plastic and deal with support structures. The aim is to make this process accessible for everyone – so you don’t need specialized and expensive software & hardware; we’ll instead use open source and free tools as much as possible.

Special thanks to Christoph Braun from the FH St. Pölten, who is the resident 3D printing expert and prepared the steps to produce the amazing results!