We’re developing several HoloLens apps at the St. Pölten University of Applied Sciences, for example in the area of Healthcare and Radiology, as well as for Smart Engineering. For better demonstrations, the HoloLens Spectator View is crucial: it allows taking 3rd person photos and videos of people using the HoloLens app. That helps in understanding the overall scene setup and the interactions between users and the otherwise invisible holograms.
Step 1: 3D Printing the HoloLens Mount
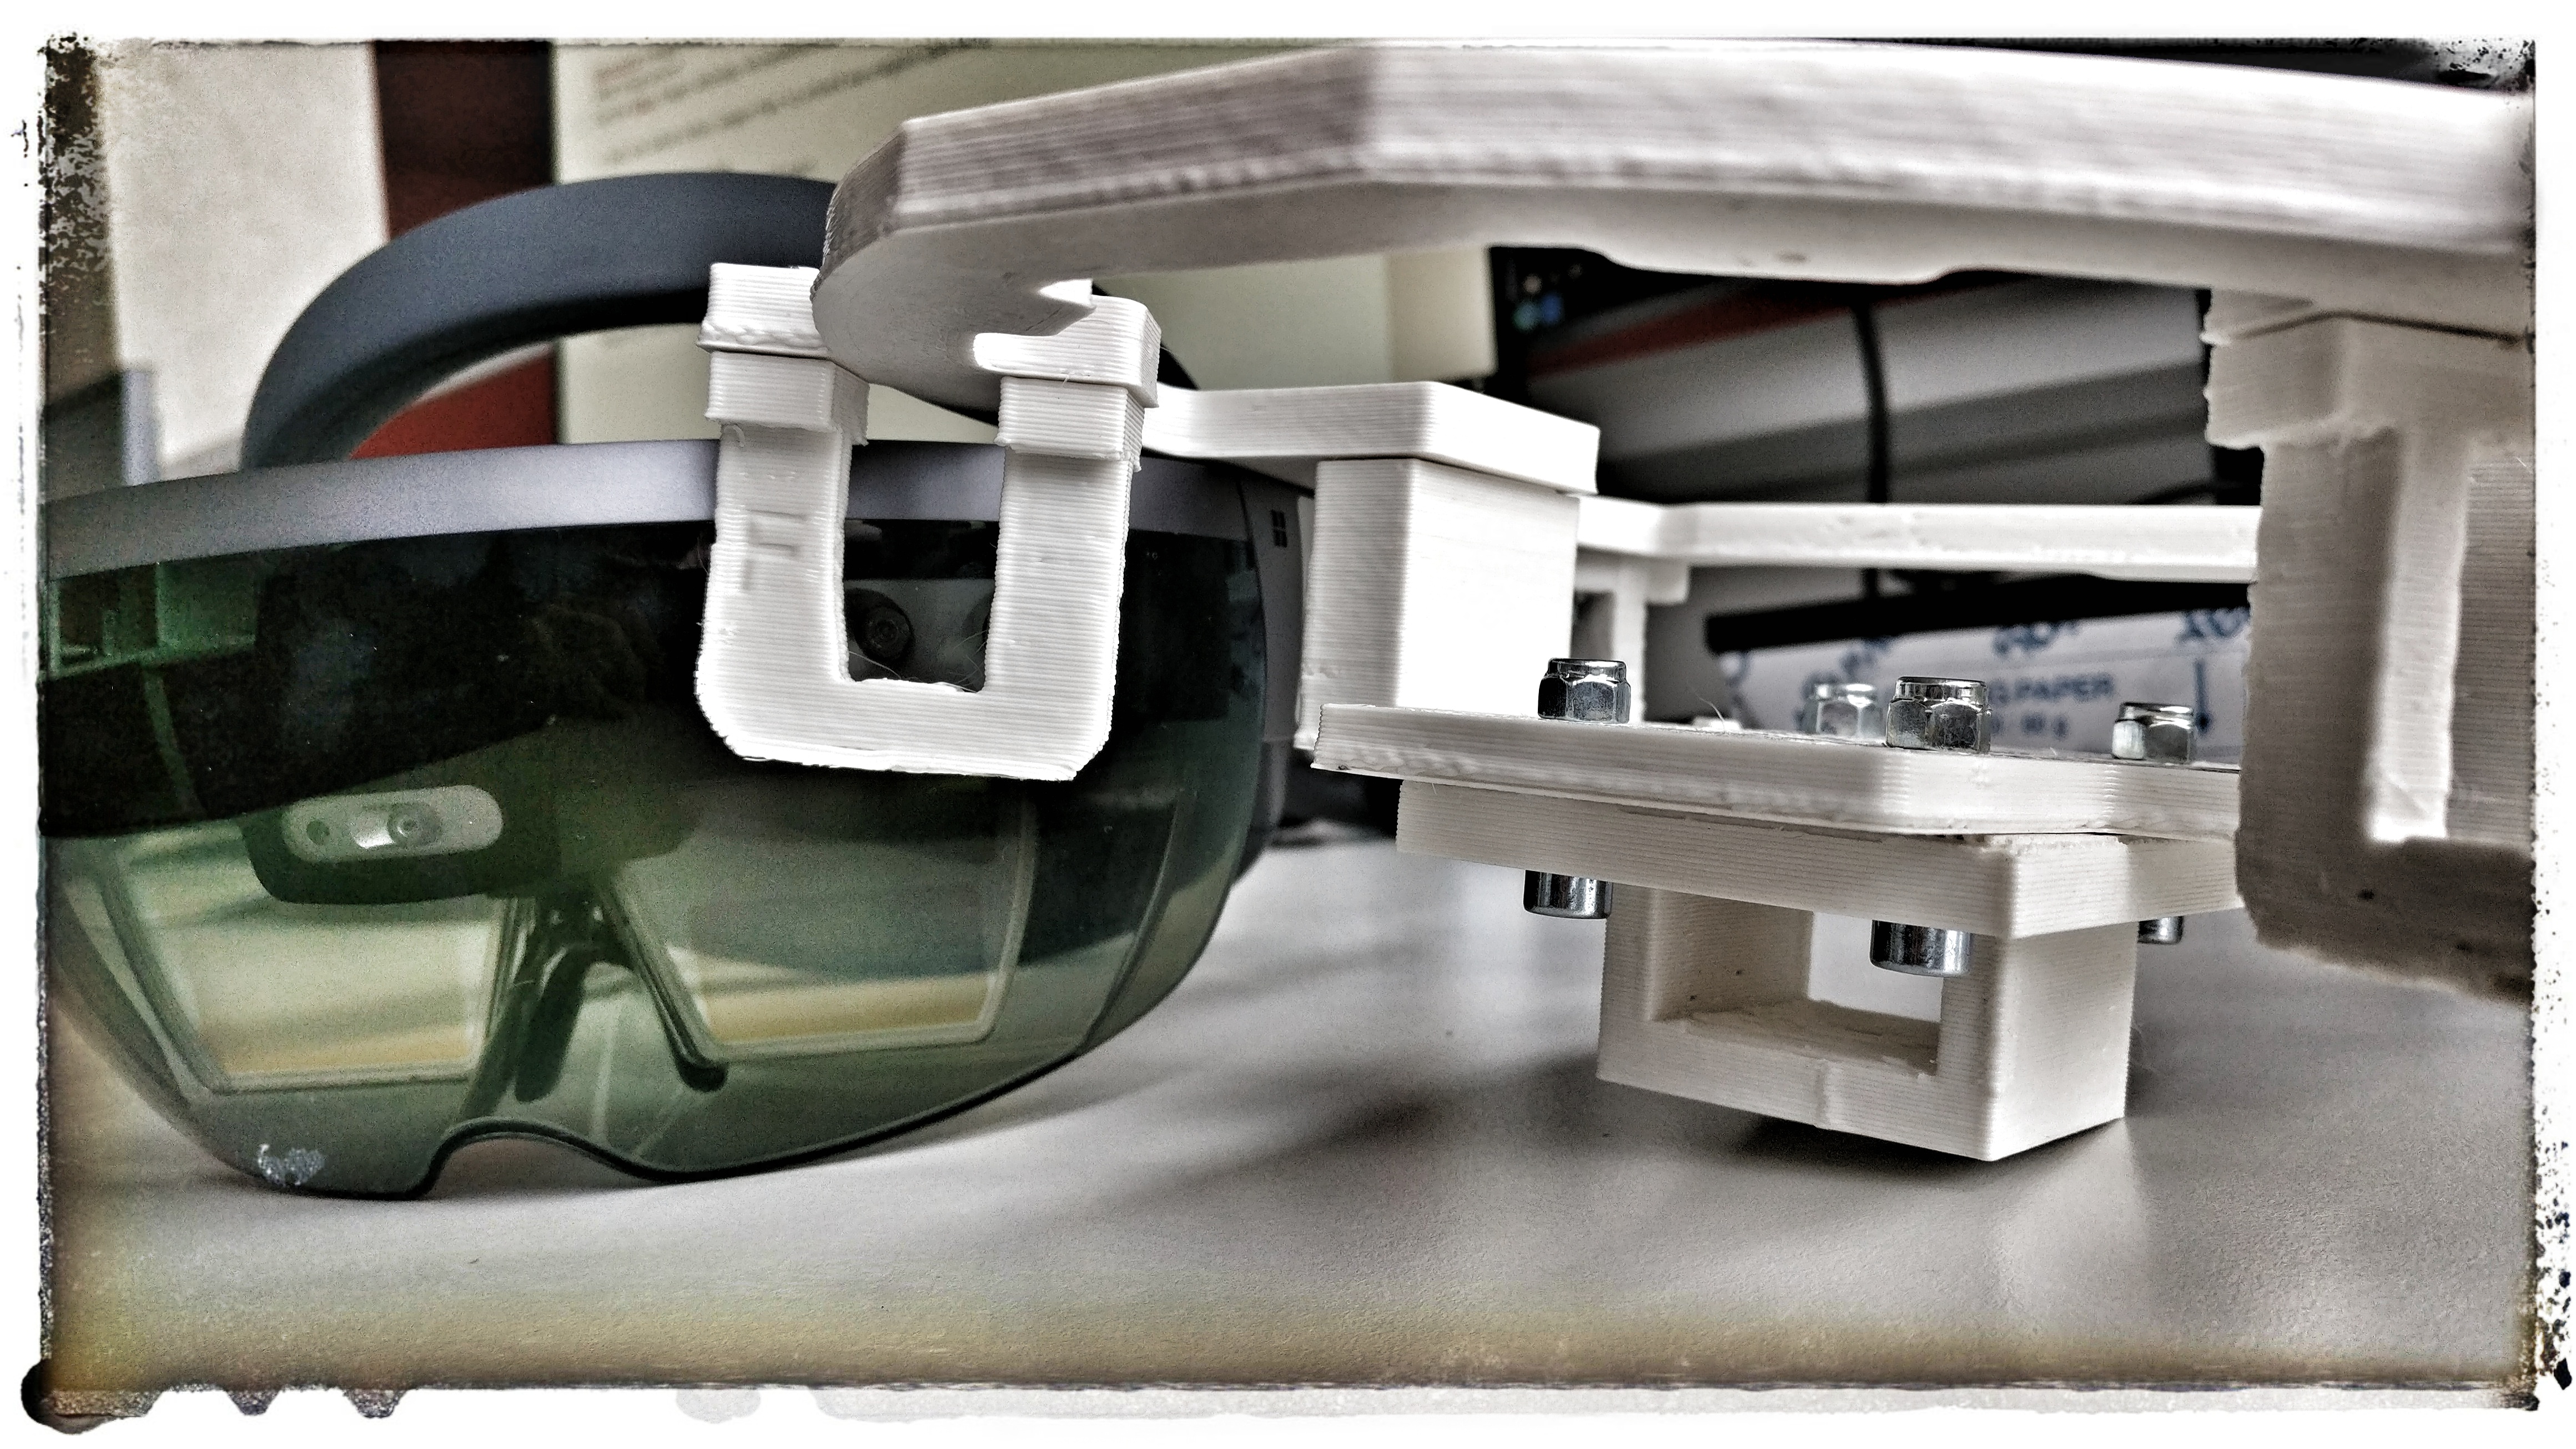
Microsoft has released 3D printing files for the HoloLens mount, which allows fastening the HoloLens on a digital camera. They recommend using Aluminium for better stability. However, we do not have such a metal-based 3D printer, and using an external company would cost several hundred Euros. Therefore, we decided to go with the standard plastic 3D printing instead.
One issue with the current design is that it’s a bit too large for most 3D printers – the mount is a little bit larger than A4. Luckily, our old 3D printer was able to produce the correct size (3DTouch by Bits from Bytes).
The design is made out of several individual parts. The original 3D files contained all in a single file, which would have required manual pre-processing, as plastic-based 3D printers would have difficulty with so much overhang.
I’ve asked Microsoft via GitHub to provide the individual parts as individual 3D files for easier printing. The request was handled within a day, and the individual parts are now easy to download. That made it possible for us to 3D print the mount and screw the parts together – it fits perfectly!
Step 2: Tools
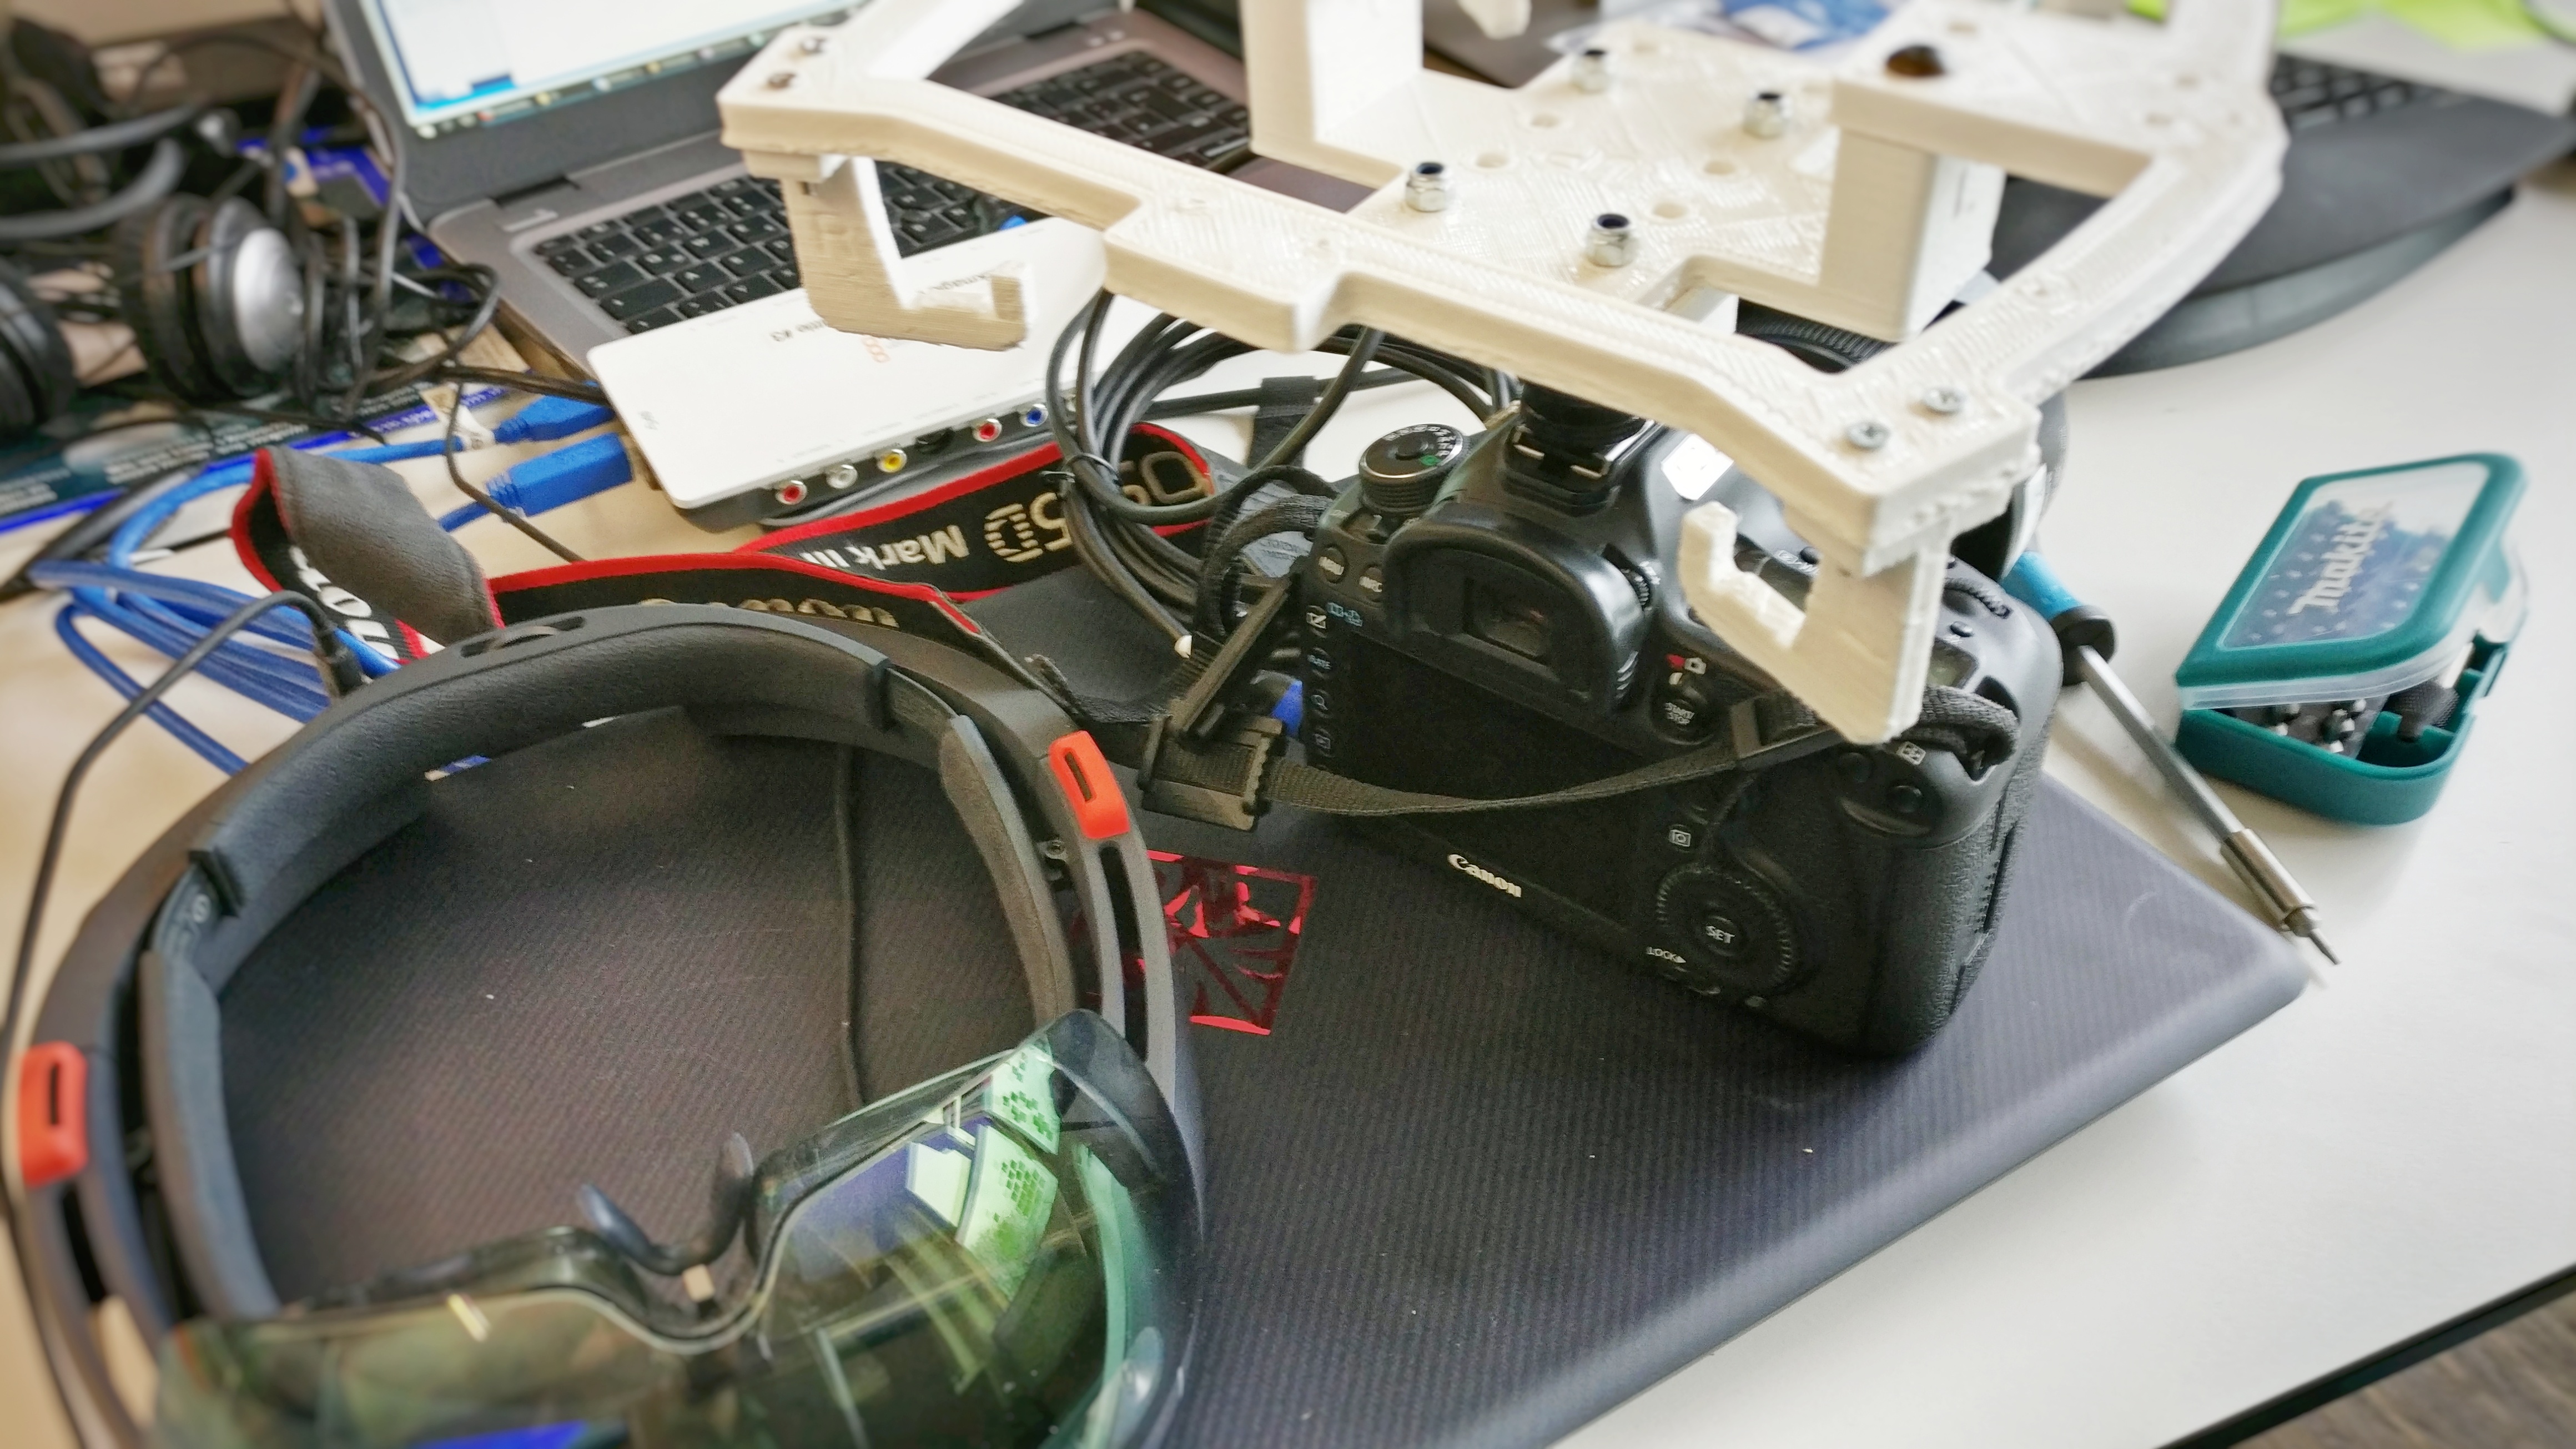
For fastening the HoloLens to the mount and that to a camera, several tools are required, which we had to get:
- Hotshoe adapter for fastening the 3D printed mount to a camera: Amazon
- Torx T7 bits (Amazon) and screwdriver / bit holder (Amazon)
The rest of the hardware was present at the St. Pölten University of Applied Sciences: Canon EOS 5D Mark III, Blackmagic Intensity Shuttle USB 3.0, Mini HDMI to HDMI cable, Torx T7 screwdriver.
Step 3: SDKs
The first step to getting Spectator View to work is to calibrate the camera with the HoloLens, as they’ll have slightly different perspectives on the scene. For this, several SDKs are required:
- OpenCV 3.1: currently, version 3.2 is already available, but in the initial tests showed that to be a bit problematic with the Calibration app, so we’re using 3.1 for now. Download for OpenCV 3.1.
If you’re using version 3.20, you need to update the source code of the calibration app, in file CalibrationApp.h, line 43. The following example shows the code updated for OpenCV 3.20://TODO: Update to the version of OpenCV you are using (if not 3.1) #pragma comment(lib, "opencv_world320")
- BlackMagic DeckLink SDK 10.8.3: Again, a newer version is available (10.8.5), but we’re using the one referenced in the Microsoft examples for now.
- Canon EOS SDK (optional): that was a bit of a surprise, as Canon has a developer program you need to apply to and that takes up to 5 working days to approve you so you can download the SDK. Make sure you do that early enough!
Also, the link provided by Microsoft is for the US Canon developer program. For some reason, Canon has different programs for different parts of the world. Instead of notifying you, Canon just prints that your IP is blocked if you’re trying to access the US developer program site from Europe, with no further information as to why or what else to do.
The correct address for European developers is: https://www.didp.canon-europa.com/
HoloLens Spectator View blog post series
This post is part of a short series that guides you through integrating HoloLens Spectator View into your own Mixed Reality app: