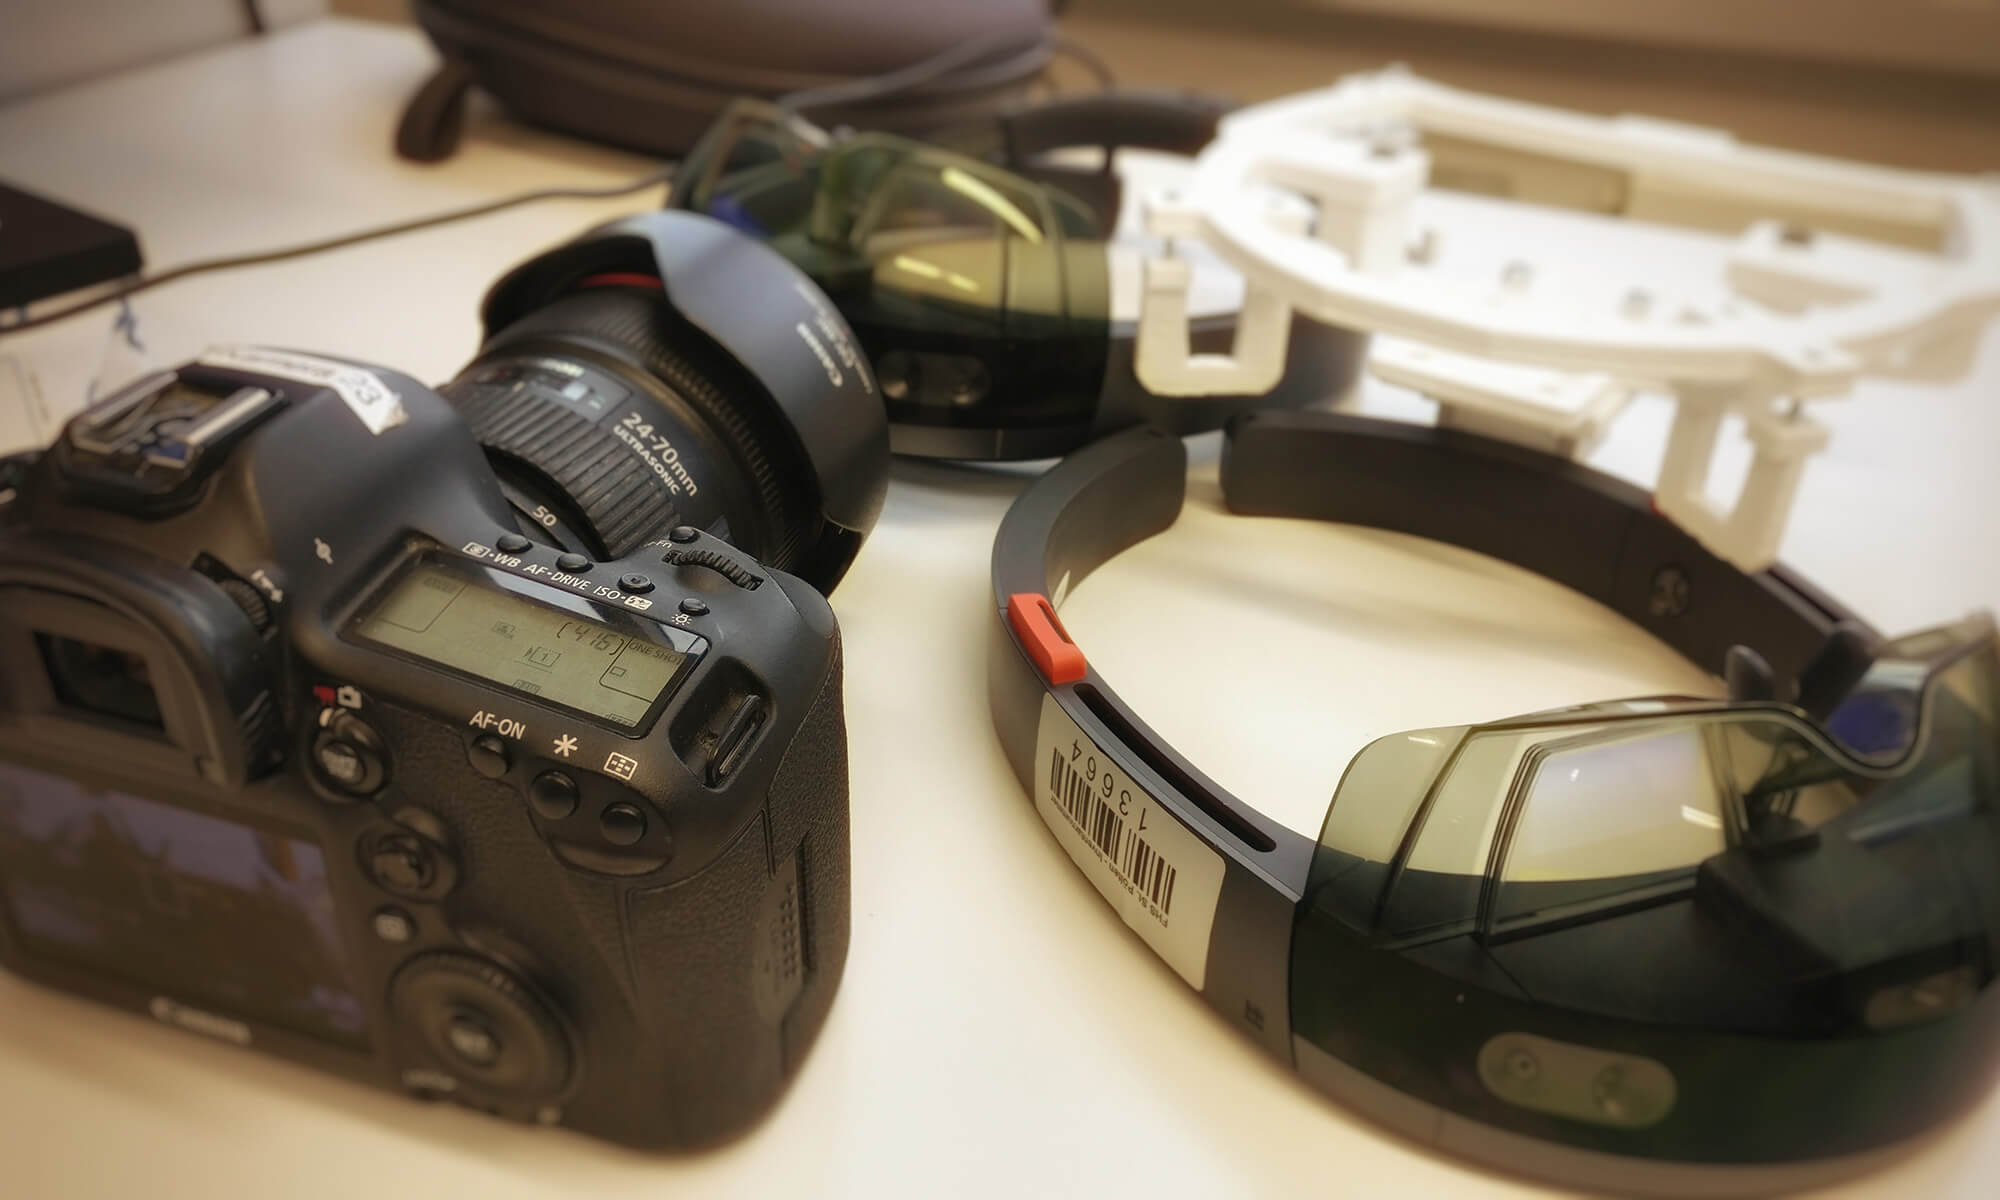
HoloLens Spectator View allows capturing high quality photos including the mixed reality contents as seen by other HoloLens users. To test the complete system setup, the next step is running the supplied sample app in Unity.
Based on my previous two blog posts, calibration of the HoloLens in relation to the DSLR camera has been successfully completed. If you need to complete these steps, check out Part 1 and Part 2 first.
Spectator View Calibration Data
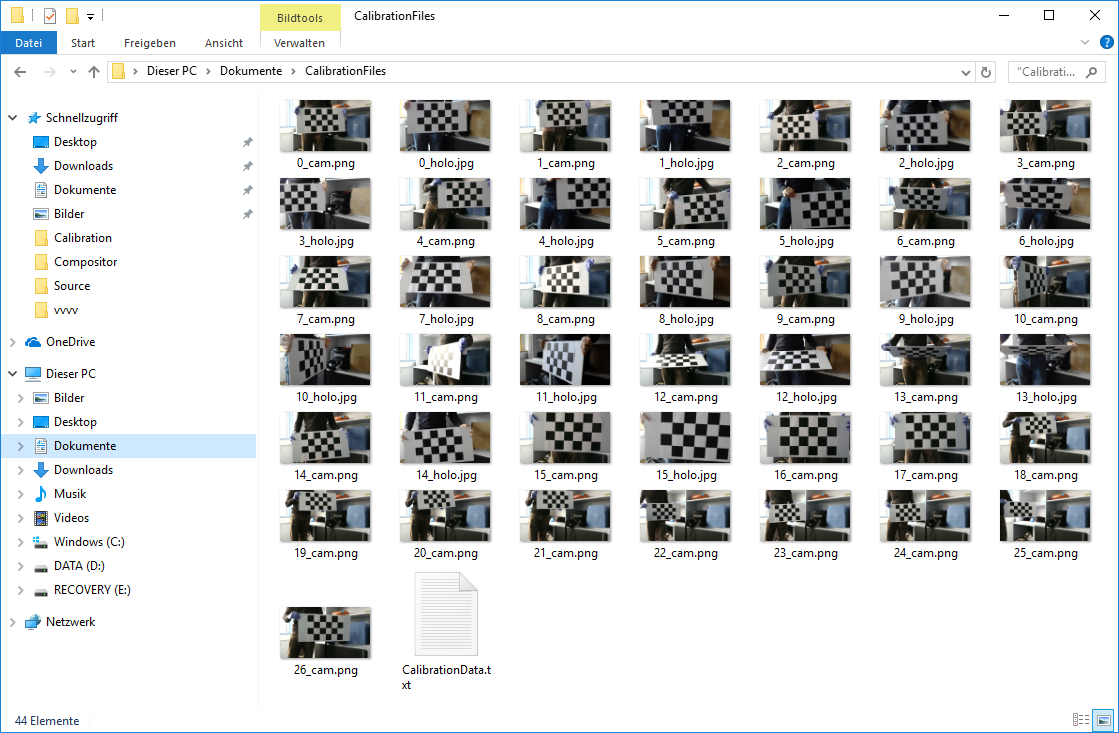
The calibration app saved its calculated data file to your Documents\CalibrationFiles folder. Copy the CalibrationData.txt file to the Assets -folder of the Sample project that is part of the HoloLens Companion Kit / Spectator View GitHub repository.
The following screenshot shows the contents of the CalibrationFiles directory, where the app saved both the screenshots of the Canon EOS camera, as well as from the HoloLens. The txt file in the directory is the data file you actually need for your app.
Compiling the Compositor
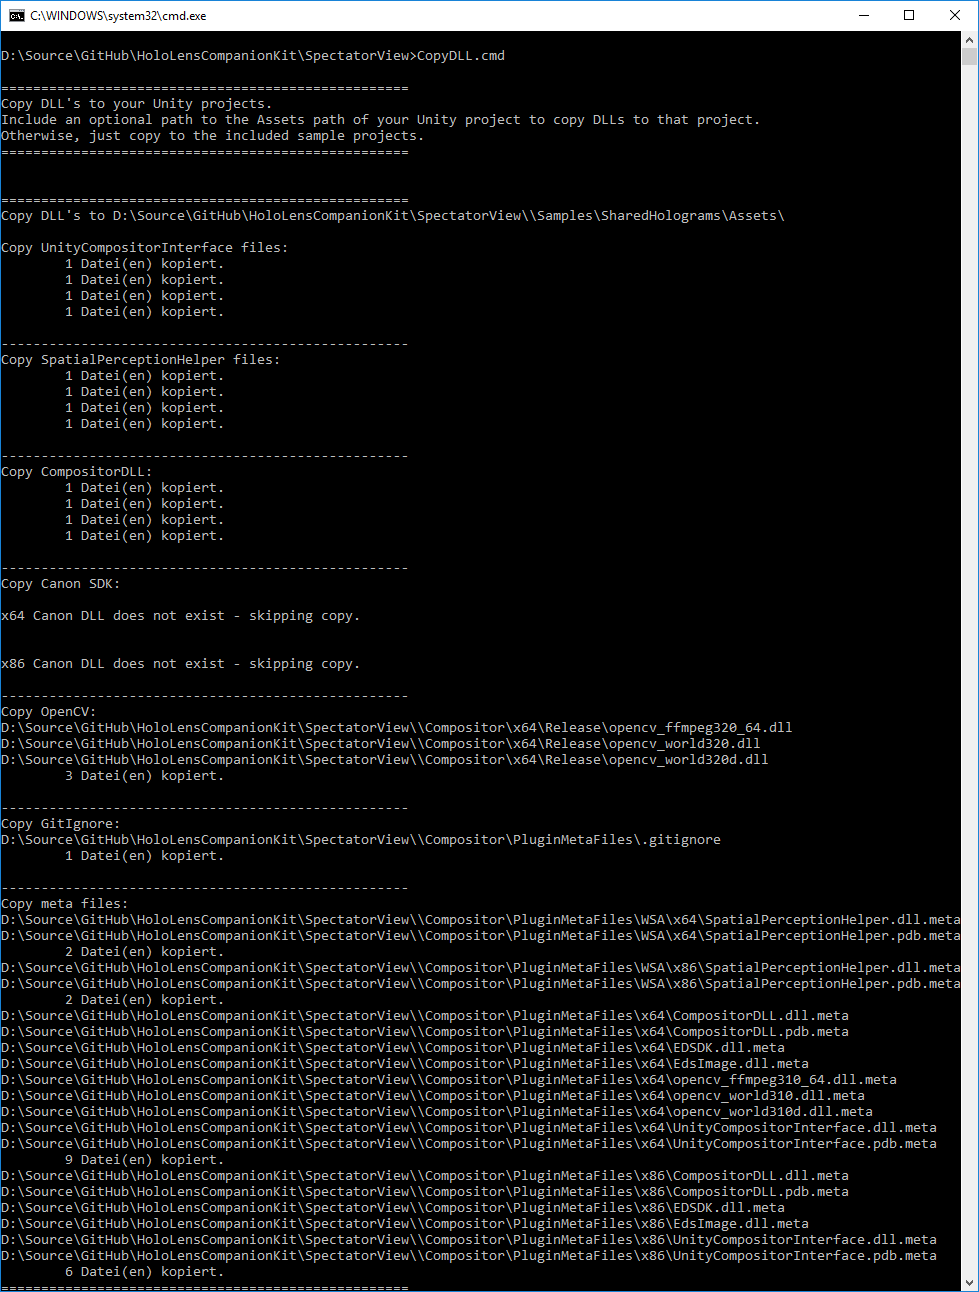
Next, you need to compile the Compositor app in Visual Studio. Open the solution and compile it in Release Mode both for x86 and x64. Next, go to the root folder of the HoloLensCompanionKit repository you checked out from GitHub and run the CopyDLL.cmd file from a command prompt.
If you do not specify a custom folder as a parameter, it will by default copy the compiled Compositor DLL files to the sample project. If this completes without any errors, the output looks like this:
Combining Mixed Reality in Unity
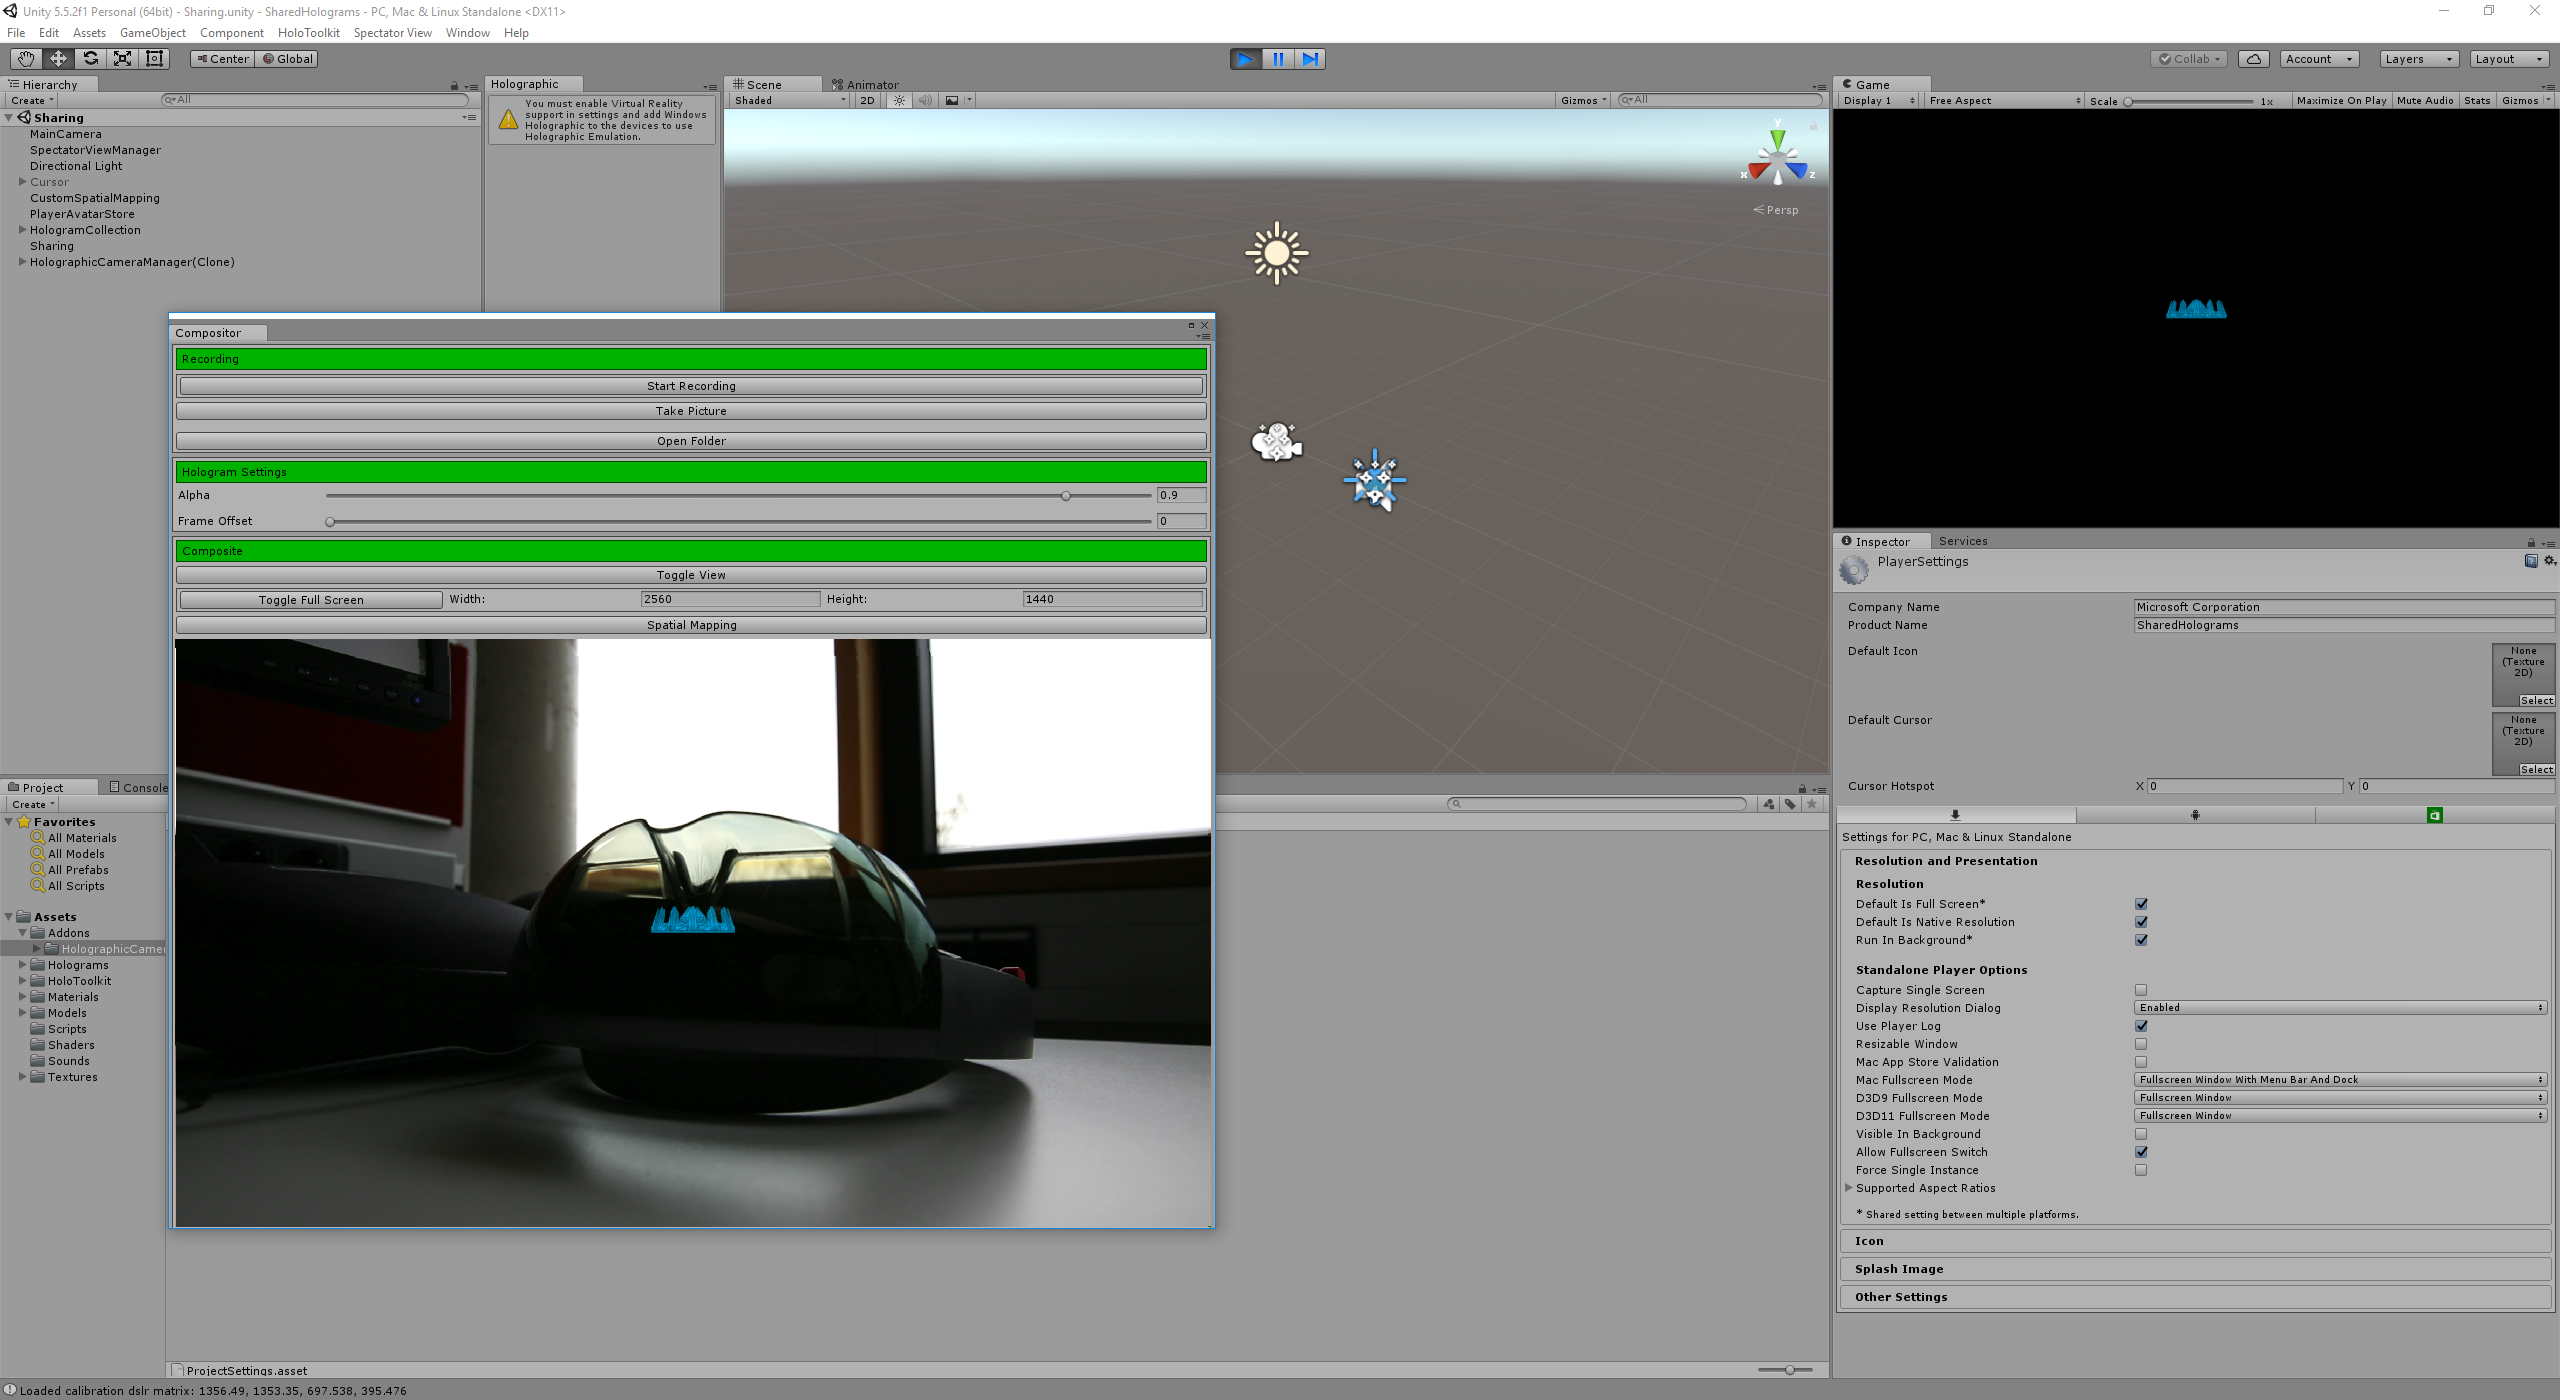
Now it’s time to test if the Unity project can successfully combine the DSLR live stream with the virtual scene as redered by Unity. First, open the sample project in Samples\SharedHolograms in Unity.
Open the Spectator View > Compositor menu to show the Compositor settings. The readme file contains a few additional things you can check (e.g., that running in the background is enabled) – but for the sample project, this should be fine.
After you press Play in Unity, you should see the overlay of the DSLR image with the virtual scene rendered by Unity. Great, this important step is done!
HoloSharing and Spectator View
Once you have ensured that Unity can access your DSLR camera image, it’s time to test HoloSharing to ensure that the Compositor actually renders the complete scene that the users with the other HoloLens devices are currently watching.
Fortunately, the required steps are quite well documented in the Readme file of the Spectator View Sample project. A few additional notes that you should be aware of are hidden in the TODO file of the HolographicCameraRig asset of the sample project.
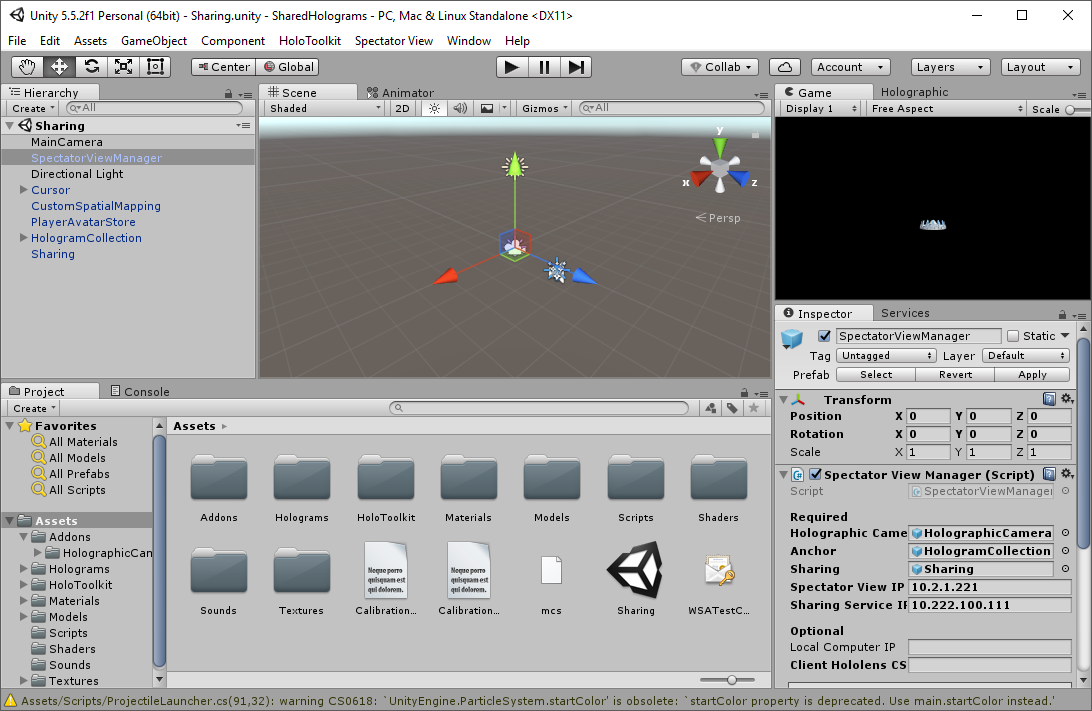
Essentially, you only need to set the IP address of your PC as well as of the HoloLens mounted to the DSLR camera as parameters of the Spectator View Manager game object / script in the sample project. Next, you can build the app and deploy it to all HoloLens devices that should be involved in the scene.
To test, you need to start the Sharing Service in Unity through HoloToolkit > Sharing Service > Launch Sharing Service. A command window will appear that has some debug output regarding the server that all HoloLens devices will connect to.
Now, press Play in Unity to start the live view of the compositor once again. Run the app on the HoloLens devices. In the sample, you need to air tap a player color from the four different colors available. Then you can position your base in the real world.
In Unity, you should already see the mixed reality view as seen through the DSLR camera, rendered in super high quality – amazing!

In the next part of the blog series, I’ll take a look at integrating Spectator View into your own apps. Also, right now the sample does not yet use the Canon SDK, which allows capturing even higher-res photos.
HoloLens Spectator View blog post series
This post is part of a short series that guides you through integrating HoloLens Spectator View into your own Mixed Reality app: