The next step to getting the HoloLens Spectator View to run is the calibration. This needs to be done once after mounting the HoloLens to the DSLR camera. The output is a calibration info file that lists how the position, field of view and other parameters differ between the HoloLens and the DSLR.
Step 4: Camera Setup
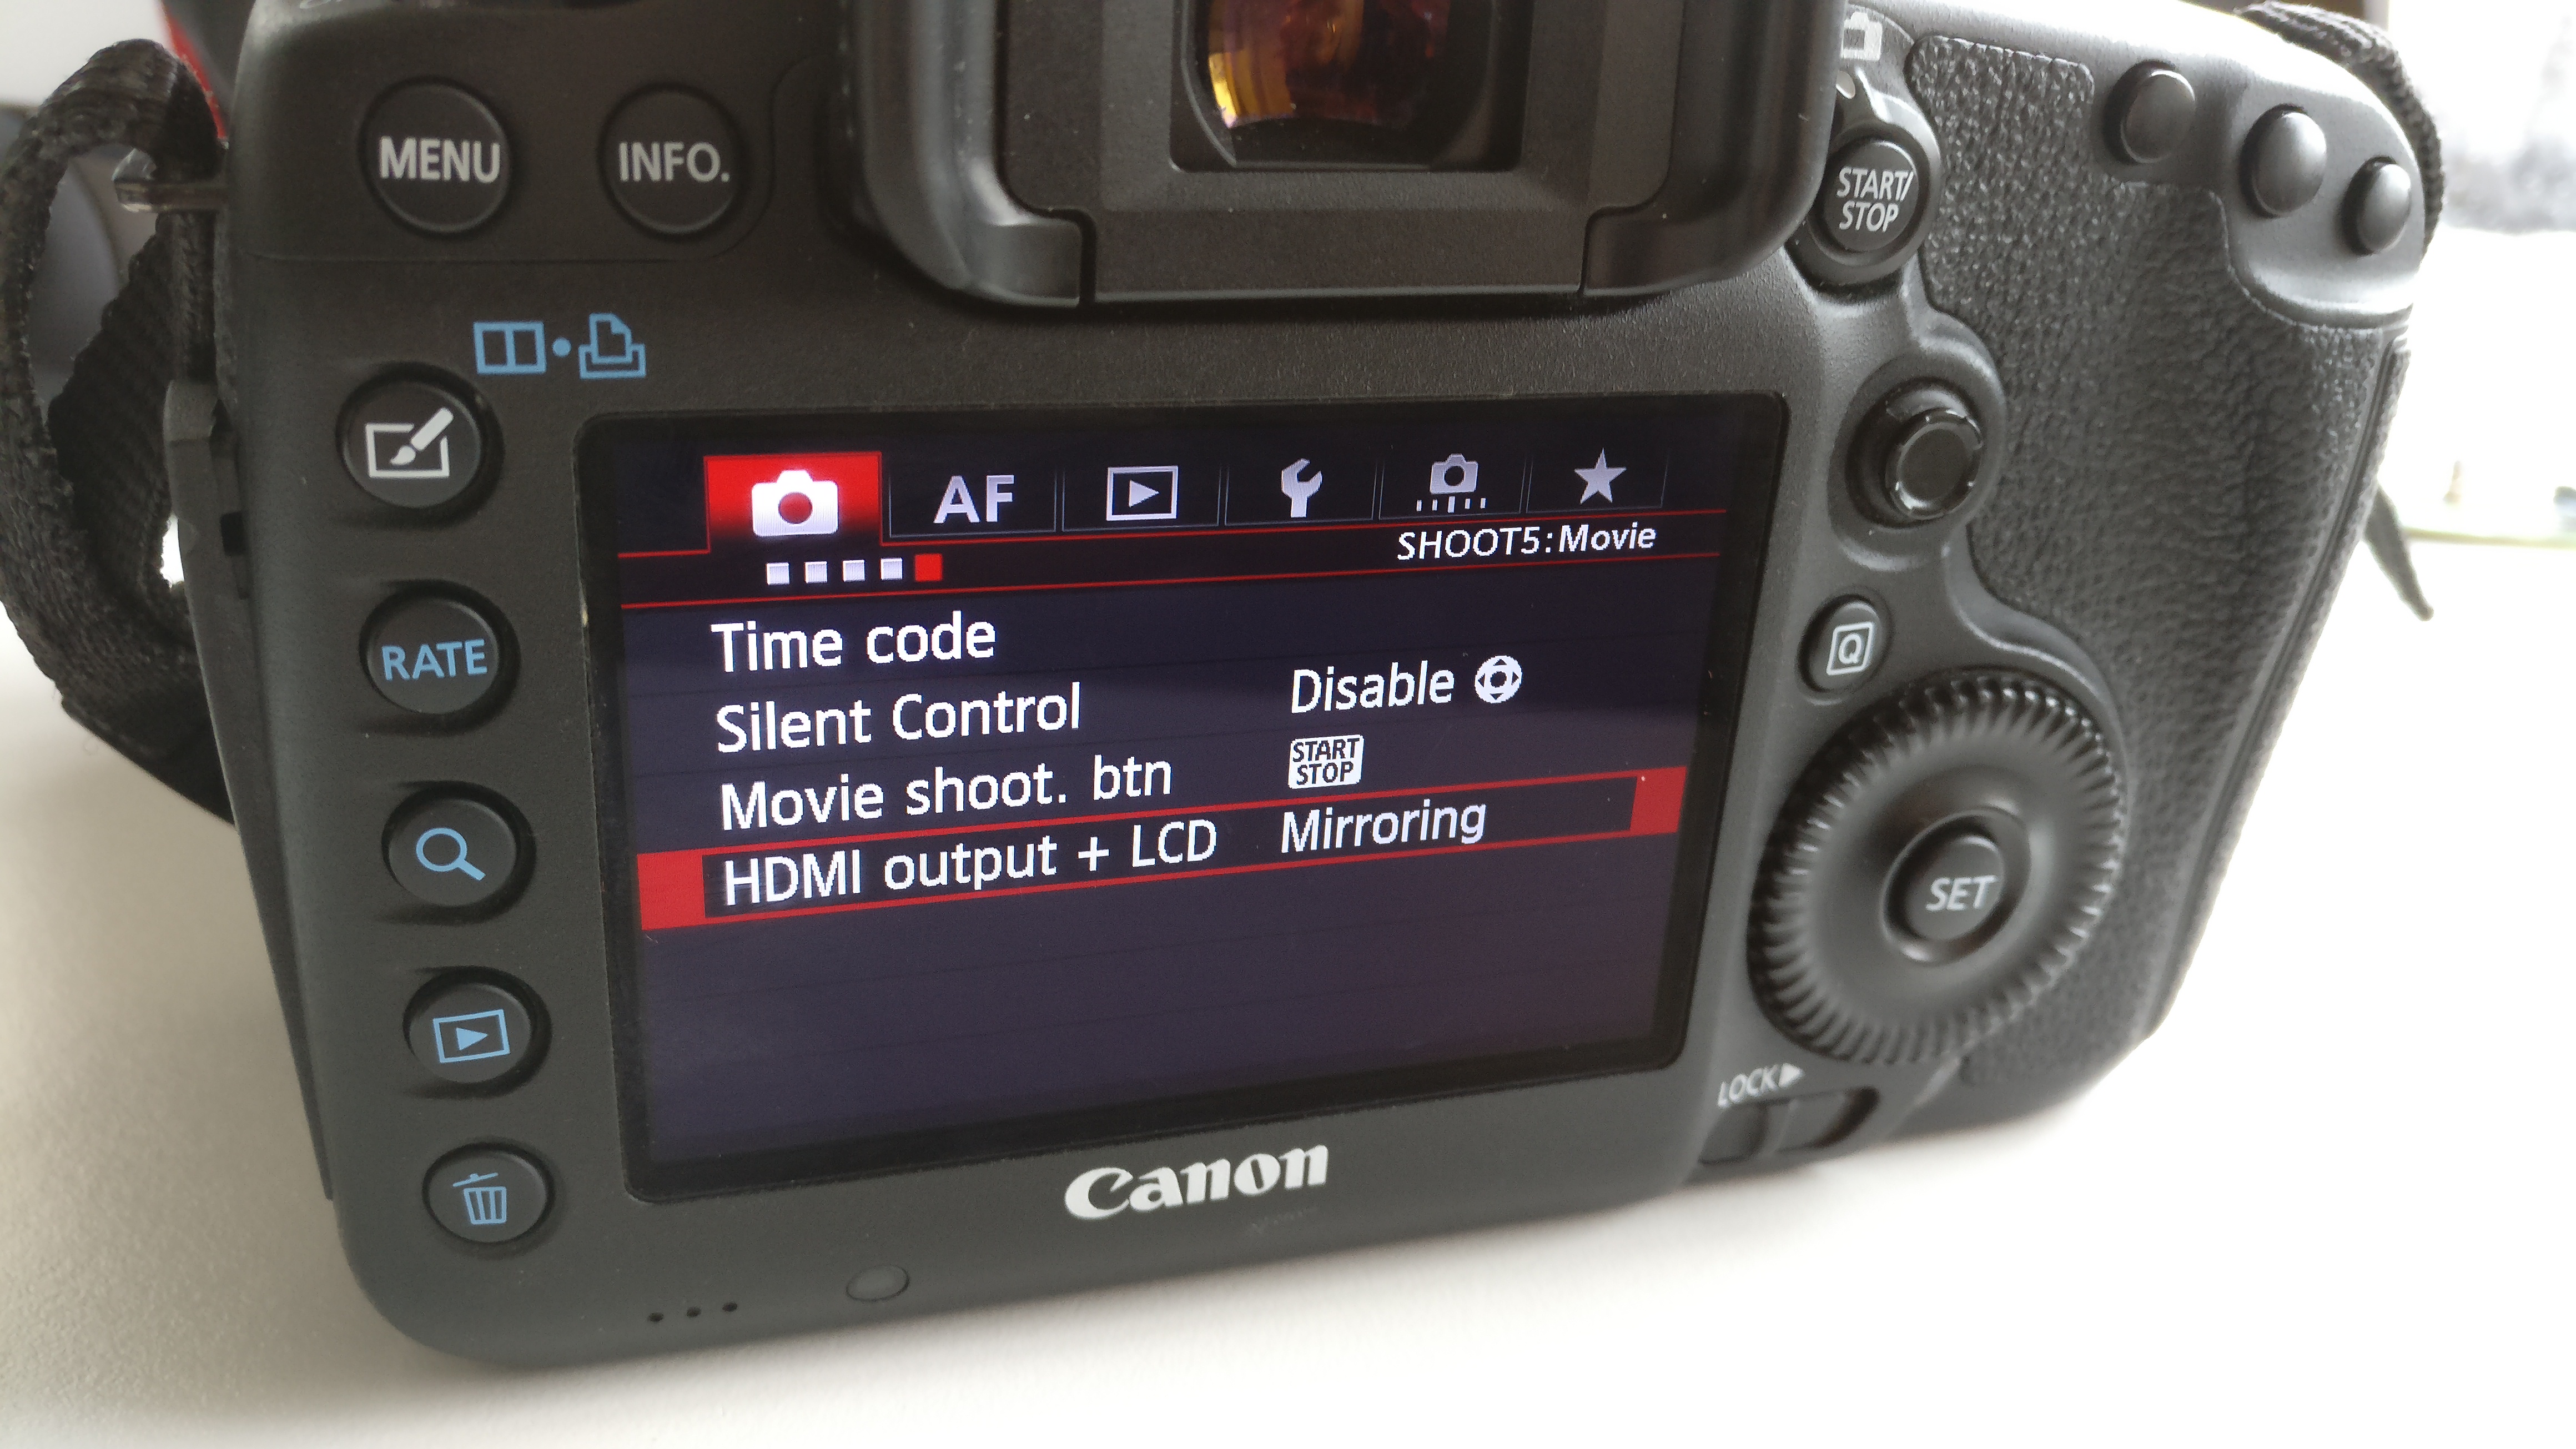
By default, the Canon EOS 5D Mark III outputs some information on top of the live HDMI video, including a big white focus rectangle. That needs to be deactivated in order to get a full-screen, clear image.
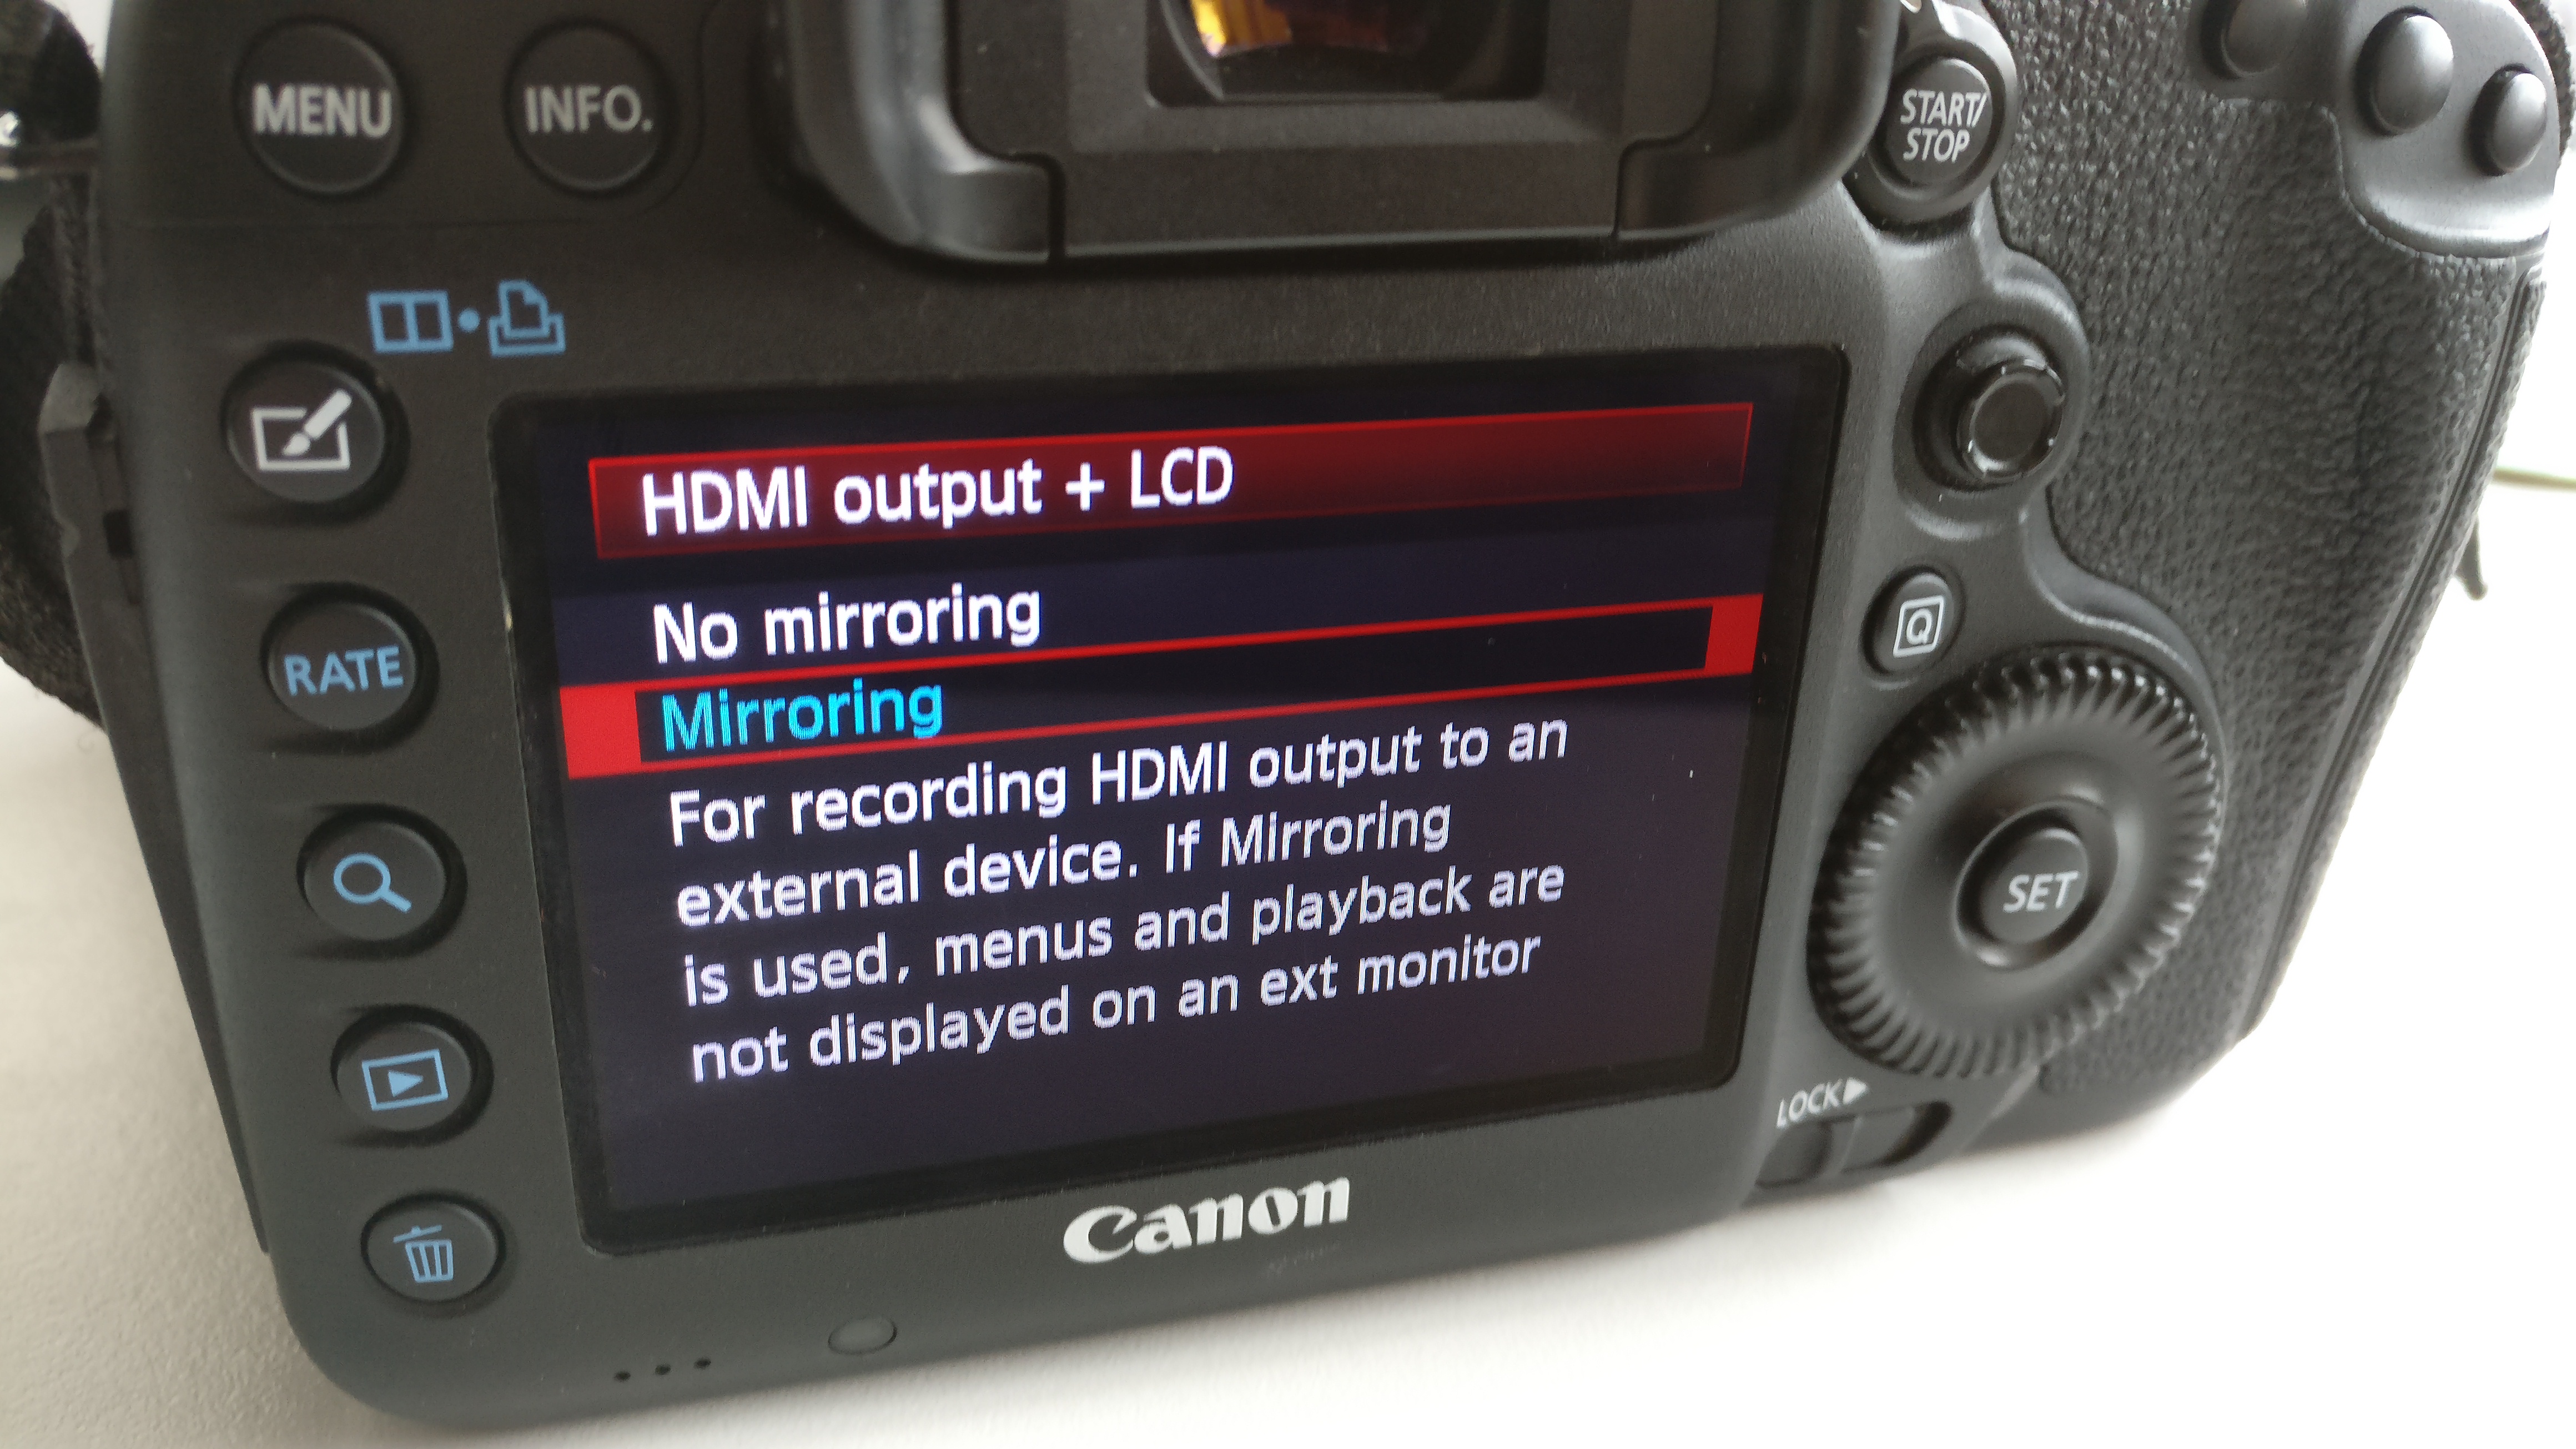
Switch the camera to movie mode, and in the camera settings menu, page “SHOOT5: Movie”, set “HDMI output + LCD” to “Mirroring”.
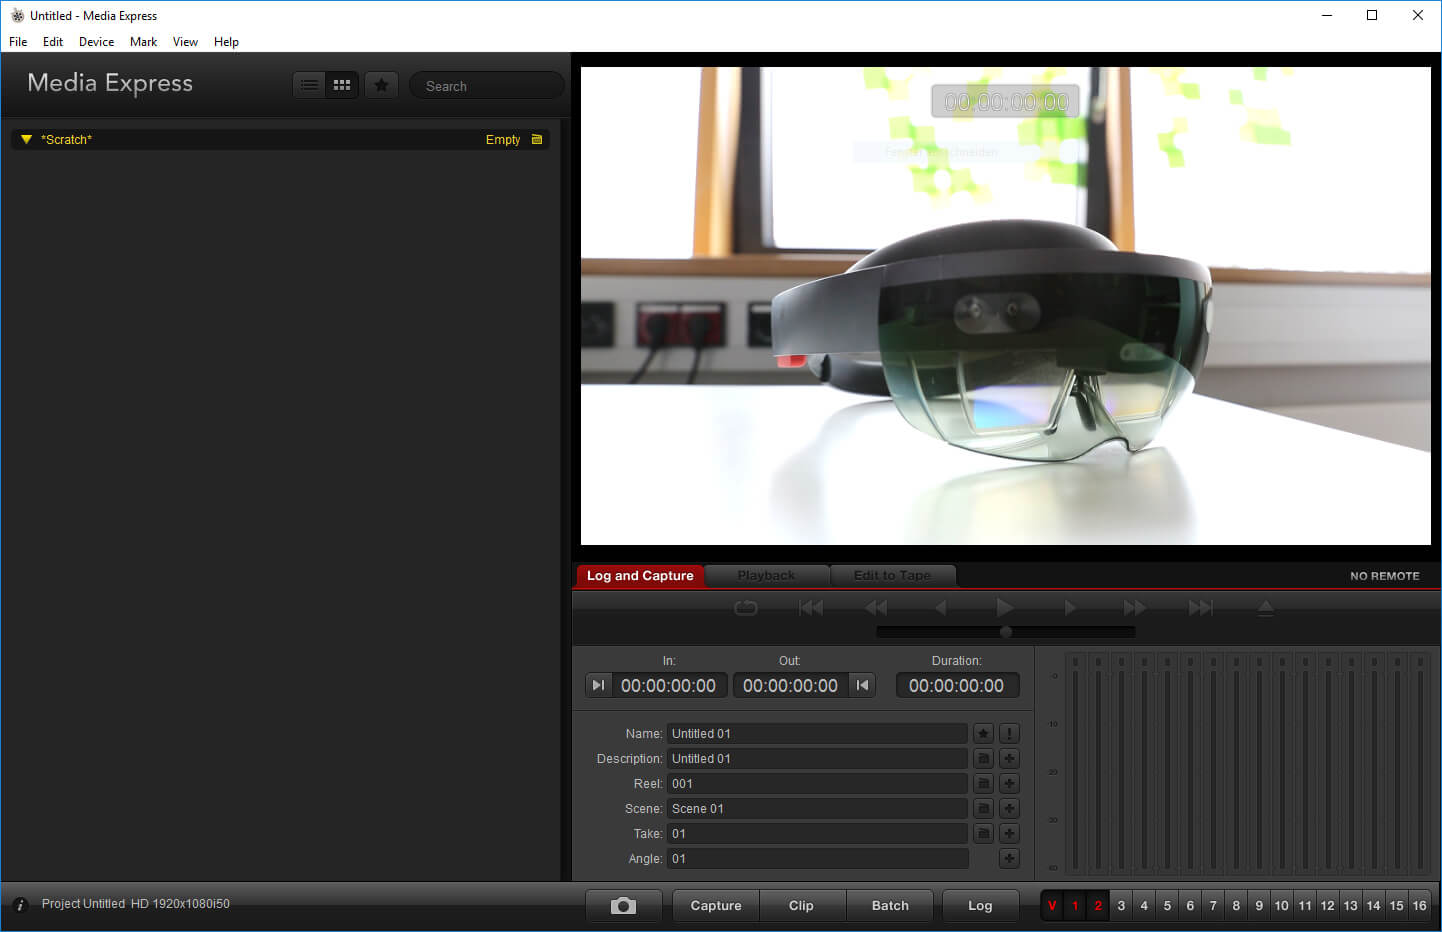
Next, test using the Blackmagic Media Express software (as part of the Desktop Video software package) if you can get the live view of the camera. This app has been very unstable when testing on our PC and crashed many times. Fortunately, we only need the app to test the camera stream. Ensure that your Blackmagic Intensity Shuttle device is visible and activated in the “Devices” menu of the app. Then switch to “Log and Capture” to see the live camera image.
Step 5: Printing the Chessboard
Print the full chessboard calibration pattern on A3 paper. Even though the measurements and instructions by Microsoft are in Inches and use the Letter format, the A3 print fits with 100% scale with a reasonably good printer that only requires slim borders.
The individual cells should be perfectly square with 2.66″ side length – which equals 6.756 cm. Make sure that’s the size of your printed cells. Otherwise, adapt the cell size in stdafx.h, line 6. There, it’s measured in meters. The default value set by Microsoft is actually a little bit off the correct 6.76 cm for some reason:
#define CHESS_SQUARE_SIZE 0.0677
Step 6: Calibration App Setup
The next step is to get the calibration app up and running. This has some tricky parts as well. Make sure to follow the official Spectator View Calibration app documentation. Here some additional hints you will need to consider, which will save you quite some time:
Release Mode
If the app doesn’t find a chess board, it usually crashes if run in Debug mode.
This is because the cv:findChessboardCorners() method (called in CalibrationApp.cpp, line 238) releases the corners vector if it doesn’t find any. When leaving the TakeCalibrationPicture() method, C++ wants to clean up the vector as well (which was created on the stack). This results in a memory exception.
The issue seems to be that there are different implementations of the vector class, depending on what version of the library is linked to the app. The dynamic variant seems to behave differently to the static variant, and which version is used differs between debug and release builds. See this bug report for more background information. This could most likely be fixed otherwise, but easiest is to just use Release Mode when building as you won’t need the calibration app very often.
European Capturing Settings
The Calibration app has hard-coded NTSC values for the output in the Microsoft Source, and the documentation doesn’t list that you might need to change that.
The European variant of the Blackmagic capturing device is unable to produce the NTSC signal, and therefore execution fails with the hint:
Unable to set the chosen video mode.
The Calibration app screen remains blue.
To fix that, change the video display mode in the Full HD section (FRAME_HEIGHT >= 1080 ) of the file DeckLinkManager.cpp, line 71, from bmdModeHD1080p5994 to:
videoDisplayMode = bmdModeHD1080p30;
Performing the Calibration
After these changes, the calibration app can run and do its magic. See the Calibration documentation for further instructions. The app automatically takes pictures every 3 seconds, as long as it sees the chessboard in the DSLR.
You can recognize that by the white lights in the front of the HoloLens briefly lighting up. Make sure you don’t move when that happens and a second afterwards, to give the app enough time to take the two pics after each other. When you think you’ve taken enough pictures, press enter on the keyboard and wait a few seconds for the calculations to go through. You will then find the resulting calibration info text file in your Documents\CalibrationFiles folder.
In the next part, we will test the complete spectator view setup. It’ll take a bit until I’ll get all the equpiment back again, but it’s already reserved and planned!
HoloLens Spectator View blog post series
This post is part of a short series that guides you through integrating HoloLens Spectator View into your own Mixed Reality app: